Five years ago, after spending a year on a working holiday in Australia, I headed to New Zealand for a few months of camping and spending time outdoors. I was hoping for mountain views, gorgeous beaches, and rugged adventures, and NZ sure did not disappoint. The country left a big impression on me and I fell in love with it. Over the course of four months, I drove around both islands, worked on a couple of farms (and a vineyard), explored caves, mountains & waterfalls, learned about Maori culture, and slept outside most nights (yes, on purpose). I have wanted to go back ever since, and unsurprisingly, my second impression of New Zealand was just as incredible as my first. But this time, I was able to travel a little differently.
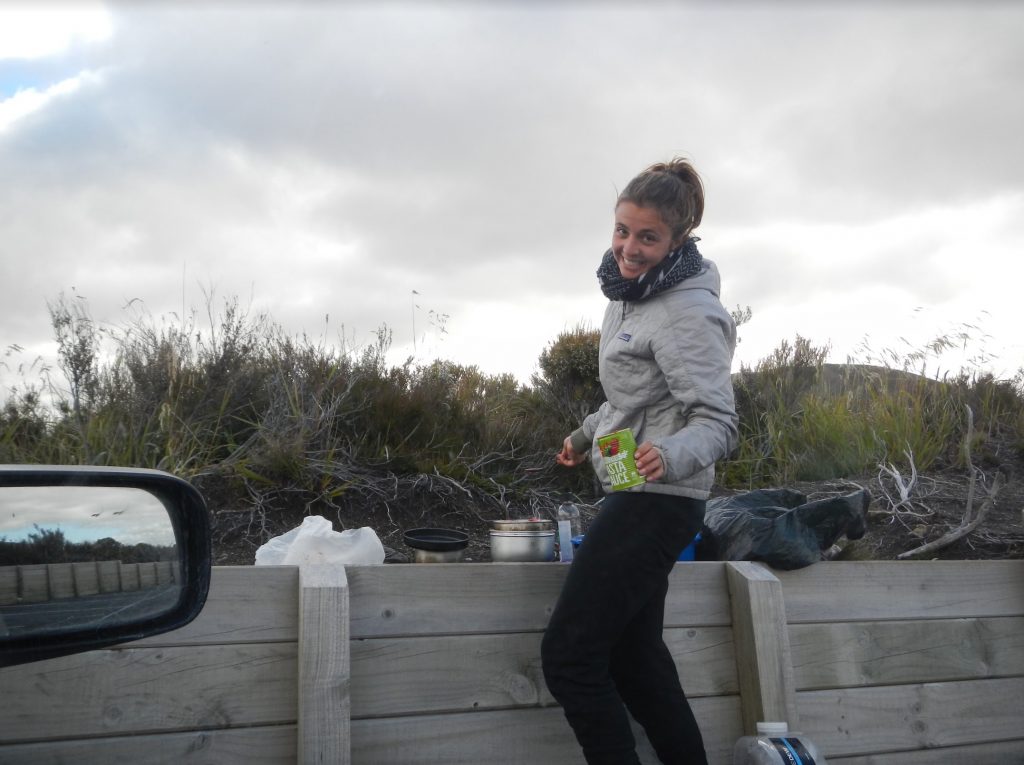
Probably cooking dinner of champions in a parking lot, 2014.
On my previous trip to NZ, I was workin’ with a rather ambitious budget (i.e. spend as little money as possible). We’re talking no eating out, no staying in hotels, no “splurge” items, and a lot of pasta, beans, and PB&J. Let that be evidence that yes, you can do NZ on a budget! That trip was some of the most frugal traveling I have ever done. I wanted things to feel more comfortable and convenient on my next trip, and looked for a balance of free outdoor activities and paid indoor activities (ok, sometimes these were outdoors too). The other big difference between then and now is that wasn’t working as a photographer back then. I didn’t even own a camera. But my memories of that trip are so vivid, and I had a list of places I wanted to return to with the knowledge (and gear) I have gained since.
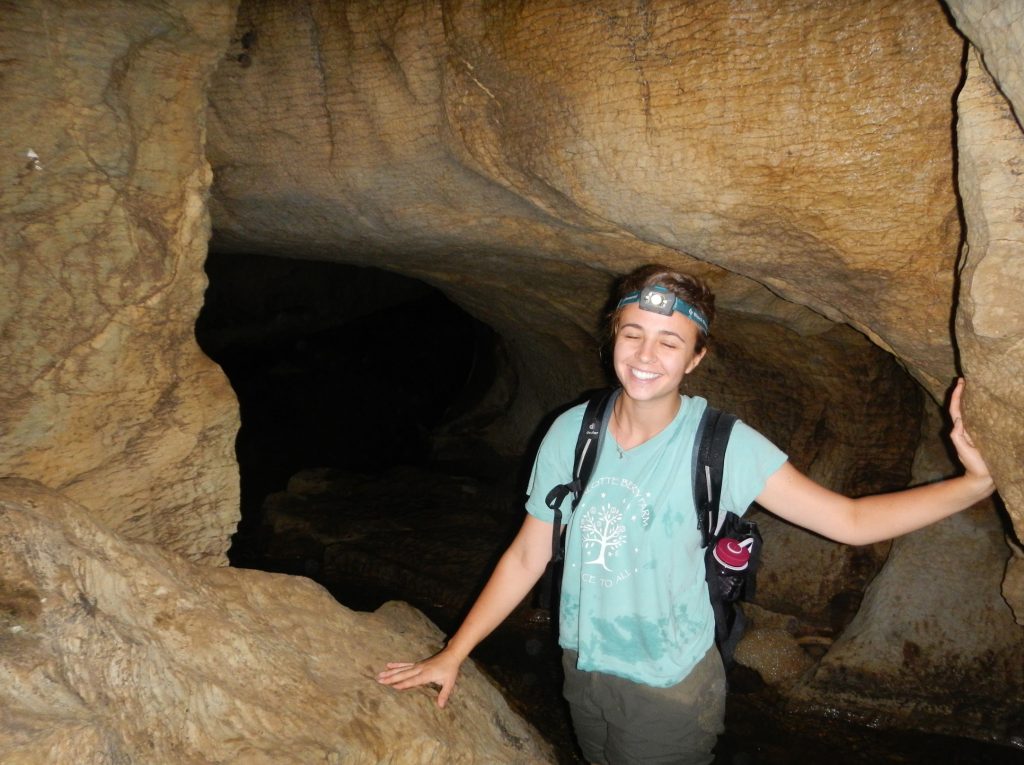
Another gem from 2014.
I planned this trip with my friend Rachel Rudwall, who is an amazing and hilarious human also working in the travel media space. Rachel is a total badass, and I highly recommend following her journey if you are not already! We decided the best method of transportation for our trip would be a self-contained camper van. It’s very convenient to have a home on wheels, it’s more luxurious than a tent, and it would allow for flexibility in our schedule. We partnered with Heron Campers for our van, and rented the Heron 2+1 model, which we found to be the perfect size for our needs. It was big enough for us to feel comfortable and to store our gear in an organized way, but small enough to feel like driving was manageable. This model had a spacious bed, plenty of storage, a kitchen area with two gas burners, a sink and a fridge, and a bathroom (including a shower)–– definitely the fanciest vehicle I have had the pleasure of traveling in.
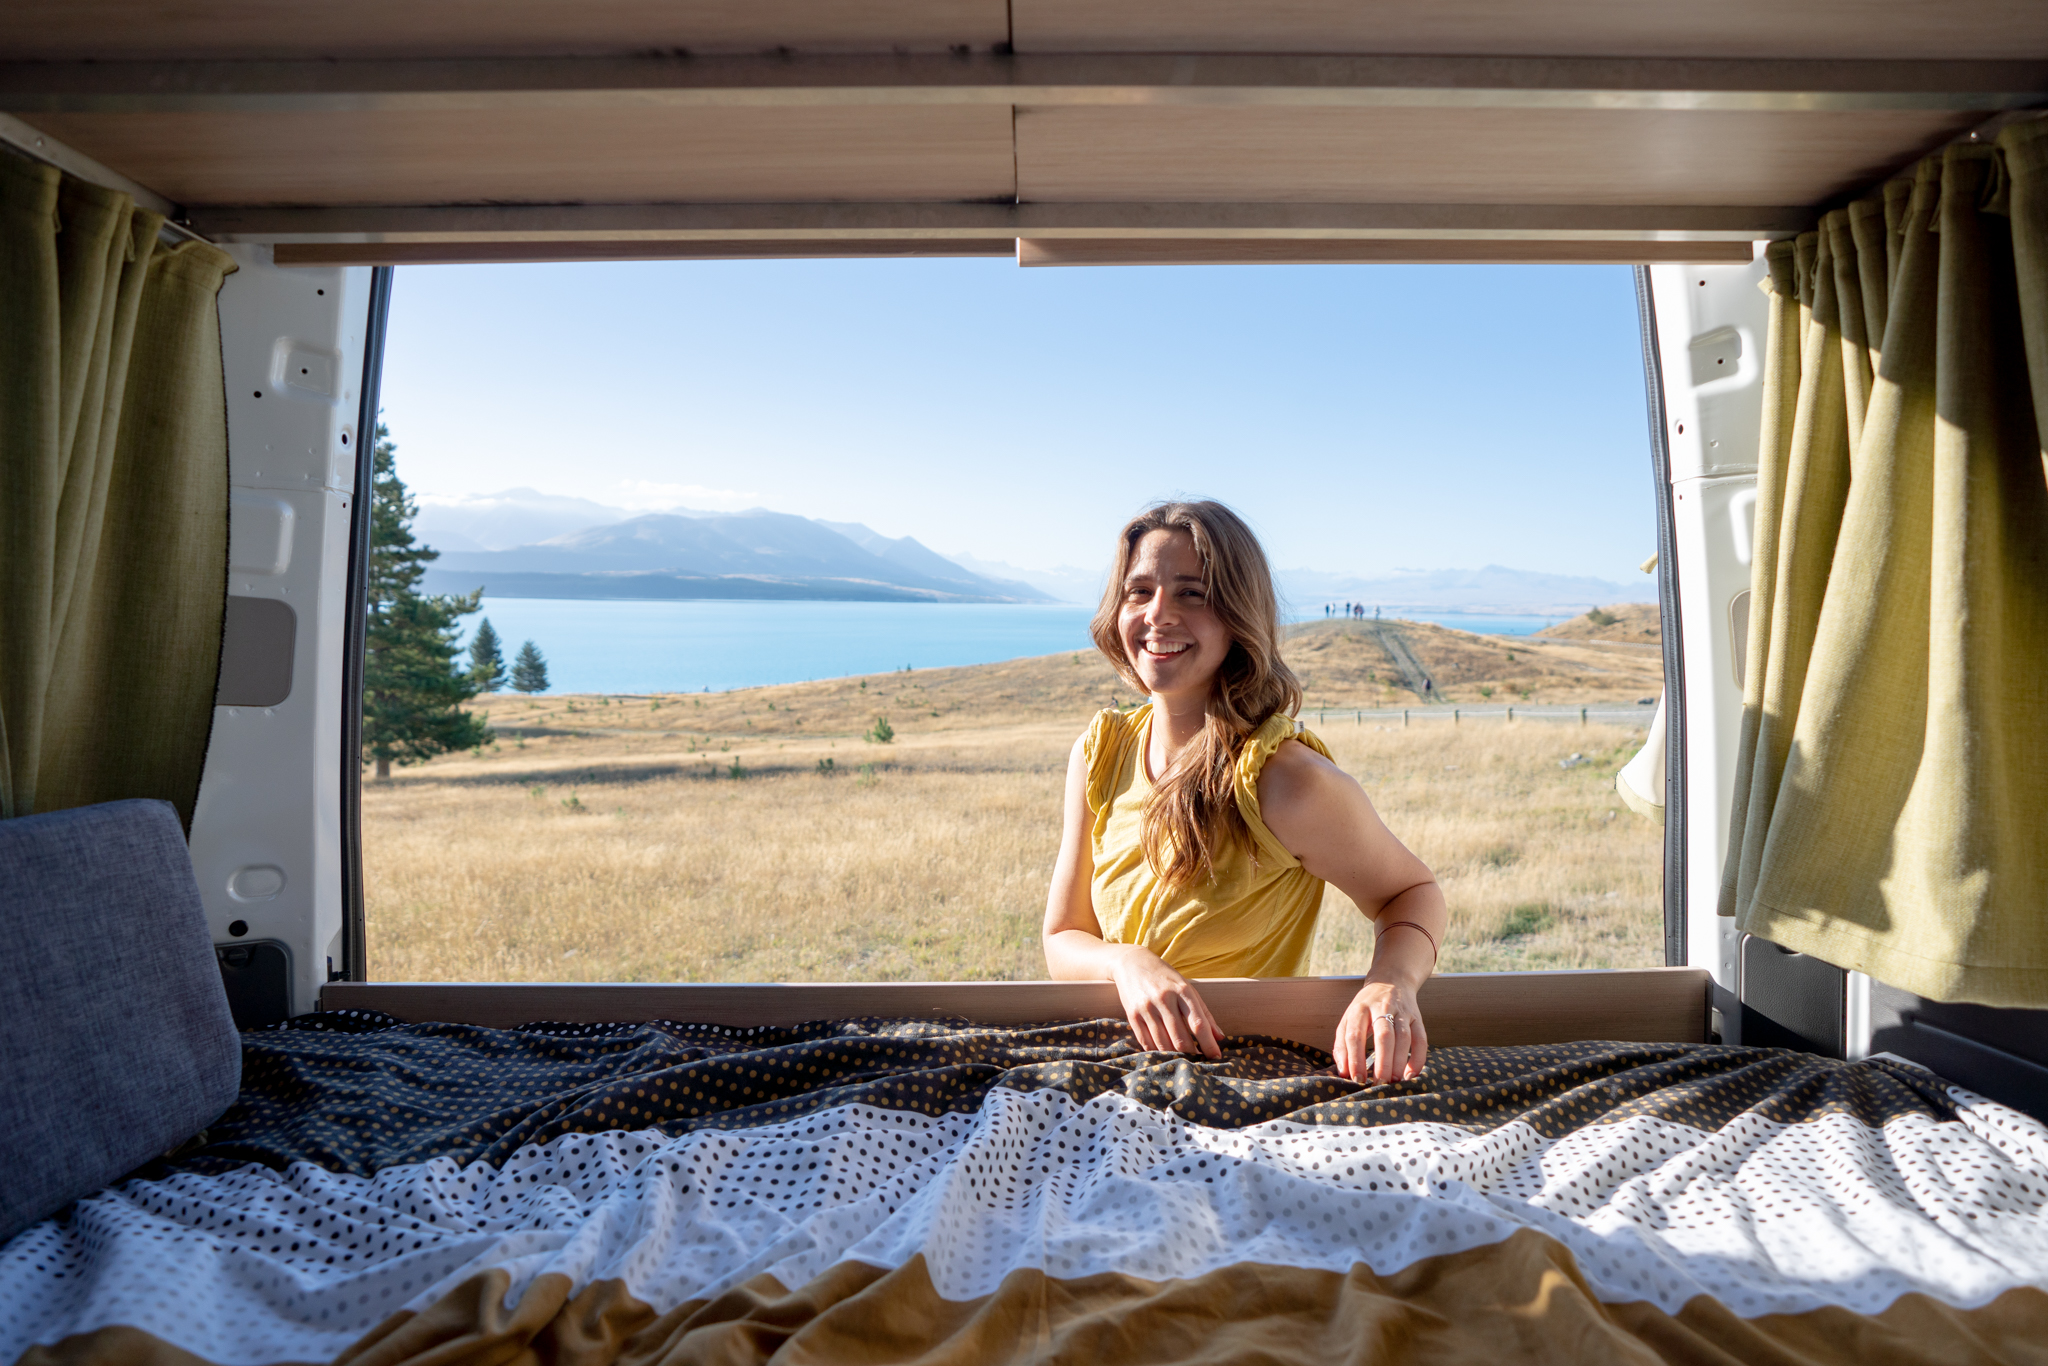
Our home for the trip (just change the scenery)!
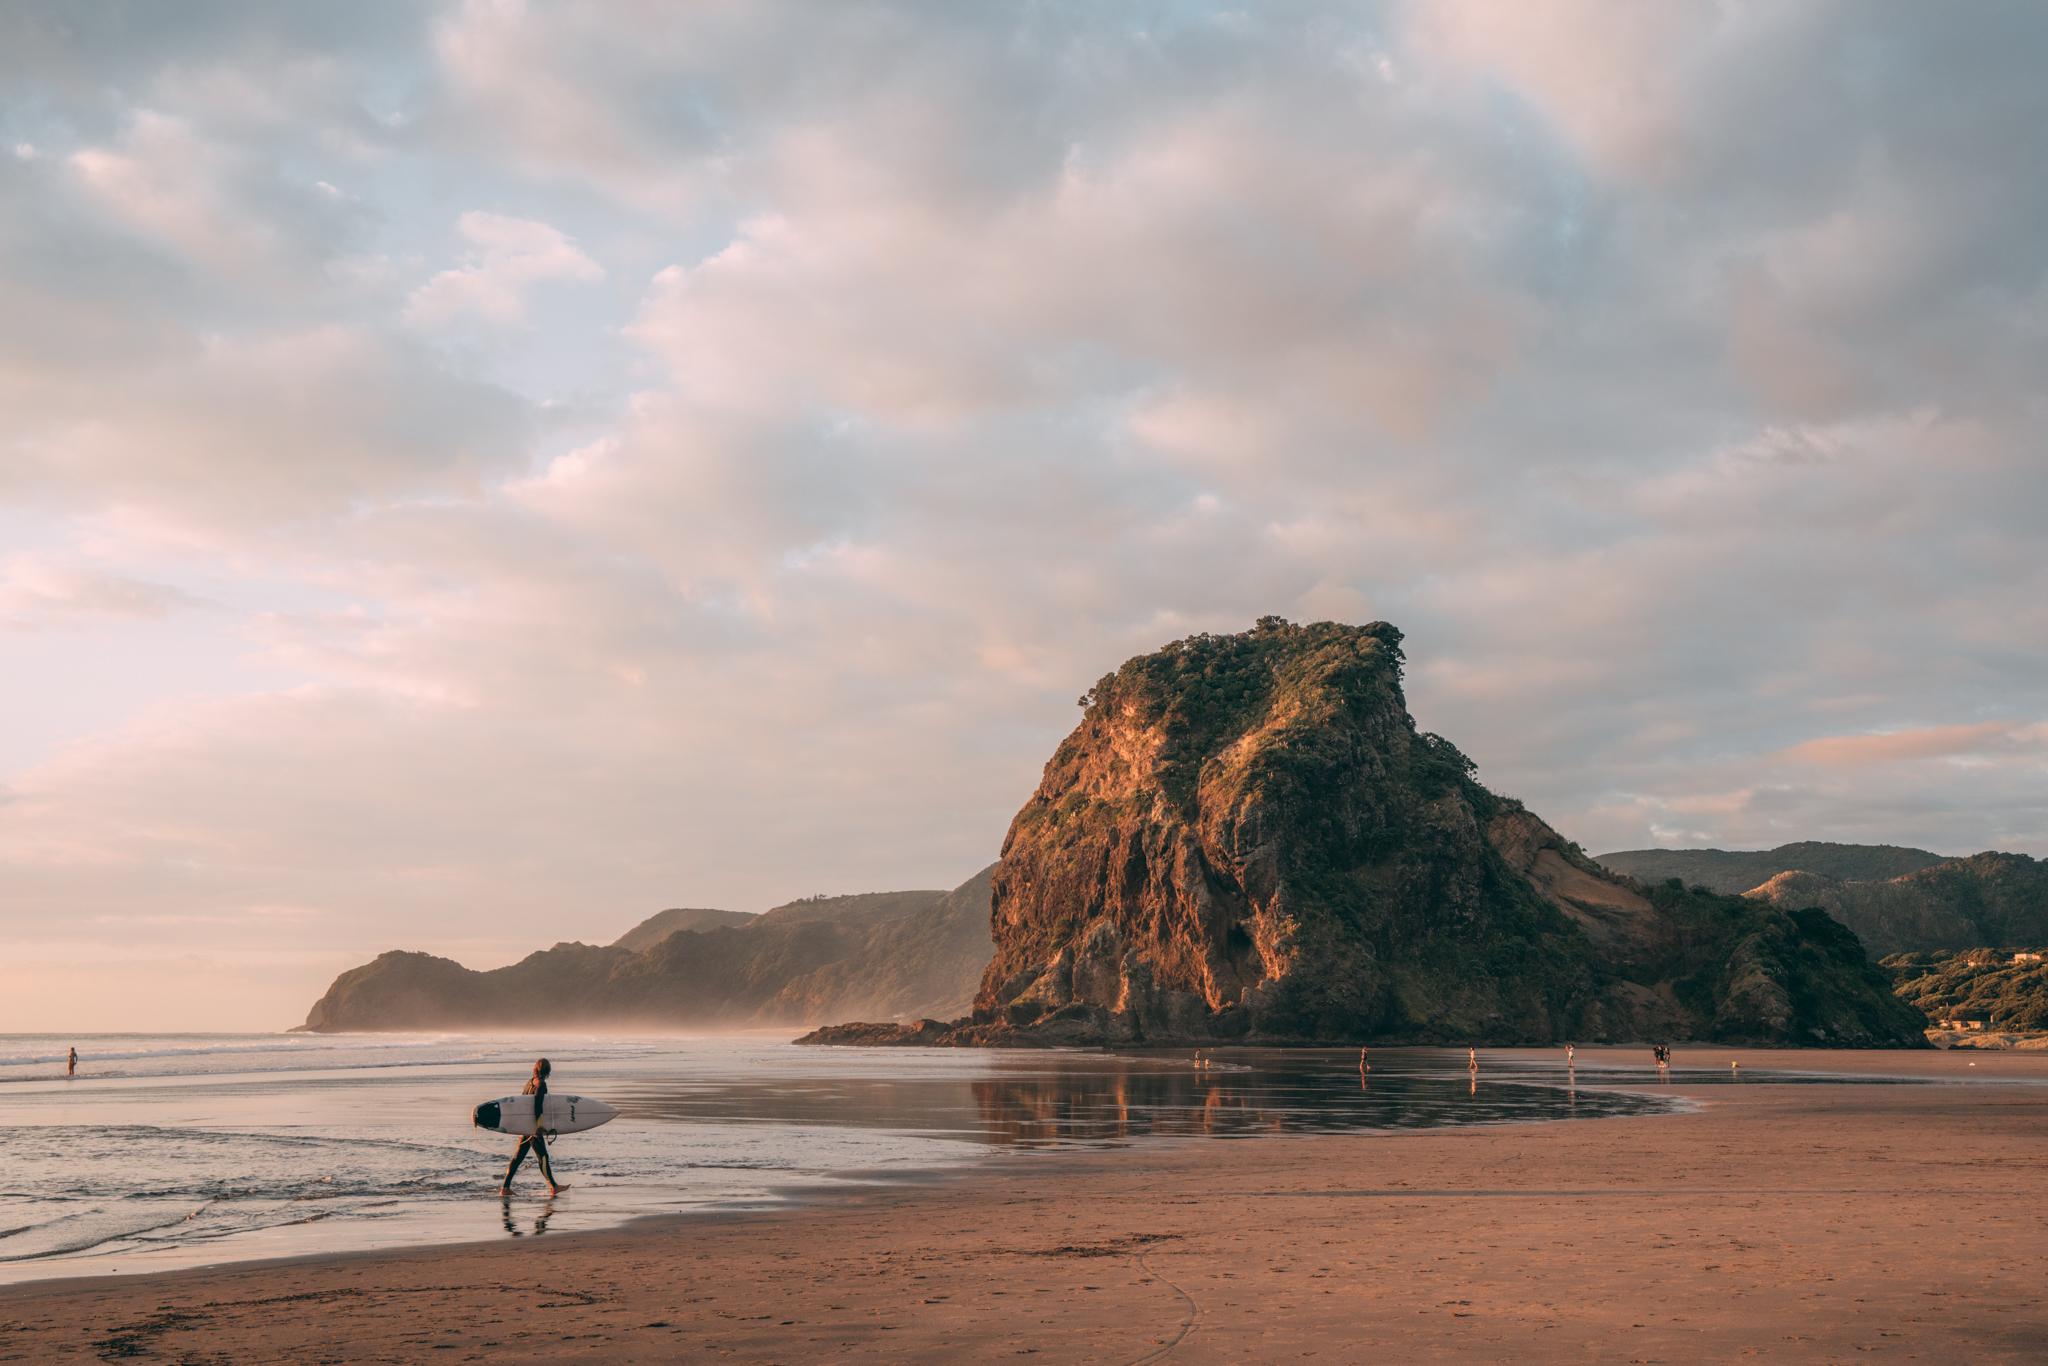
Upon arrival, we took a night to rest up in Auckland before heading to our first stop: Piha Beach. Piha is a gorgeous beach about 45 minutes drive from Auckland with some huge and unique rock formations. Piha is simply beautiful and such a fantastic place to spend some time. There is a campsite super close to the beach that offers powered & unpowered sites where we stayed for the night.
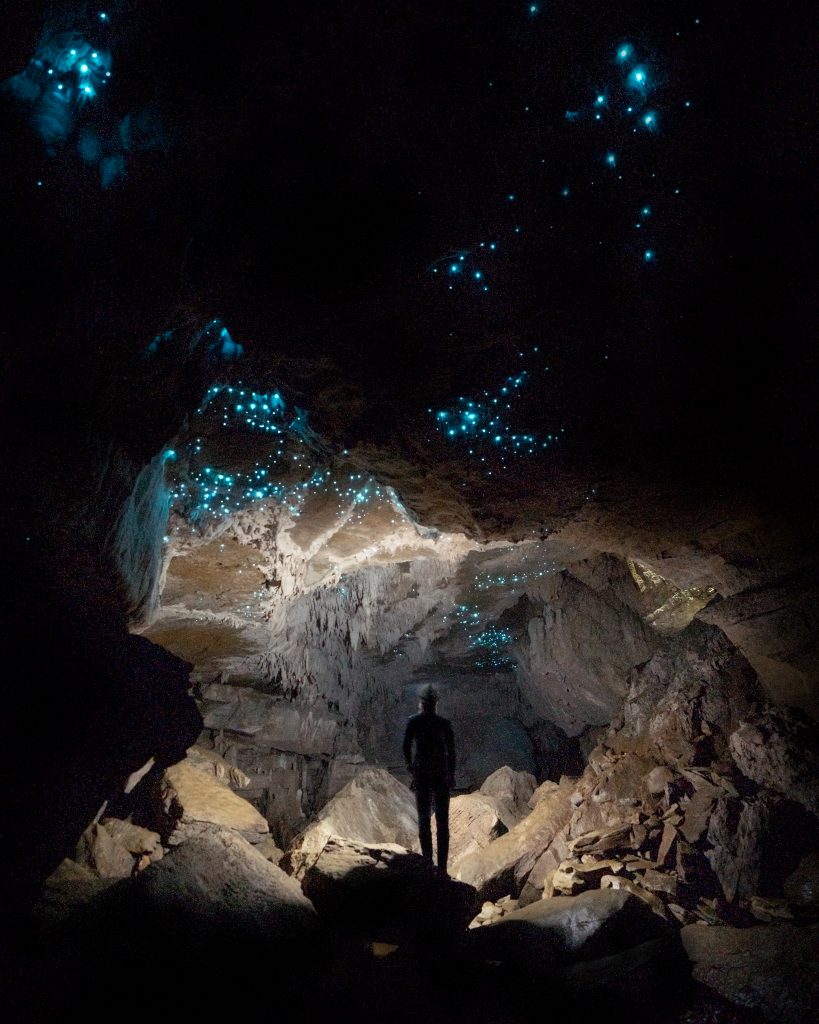
Given that I haven’t shut up about glow worms for the past month on social media, you won’t be surprised to hear that our next stop was to visit some glow worm caves. We found a small family-run operation called Glowing Adventures, which offers unique & adventurous cave tours on their property. The tour groups are small, so this is a very different experience than you might have at the nearby Waitomo caves, which are arguably the most visited caves in the country. Comparatively, Glowing Adventures hosts only 8-10 people a day, whereas Waitomo can sometimes host a few thousand! We opted for their photography tour, which allowed us plenty of time to create images like these. Another note on glow worm caves in general: there are un-commercialized caves that have glow worms in New Zealand! I have been to several of them, and they are really special. As these are not commercialized, are sometimes harder to get to, and are less populated, you need to do your research. Think about the type of experience you would like to have and how much time/flexibility you have in your schedule, and go from there. Google is your friend.
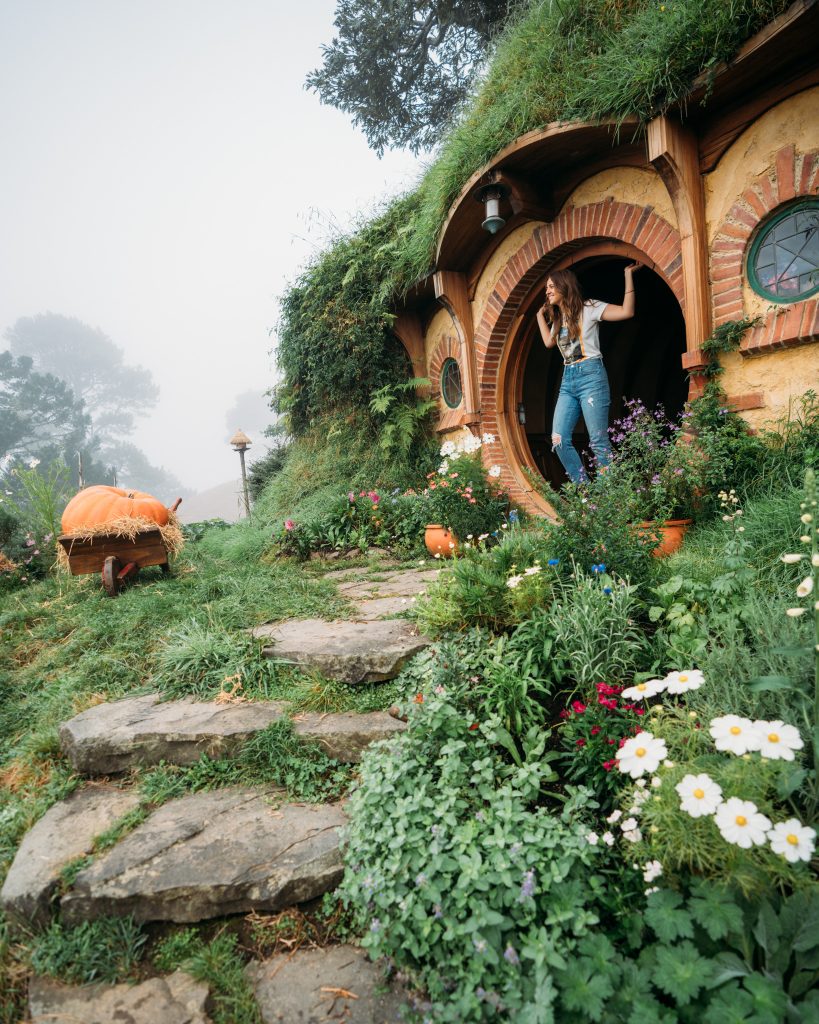
Another North Island highlight for me was shockingly… Hobbiton. To be totally transparent, Hobbiton was not originally on my to-do list for NZ. I’m usually not into super novelty or commercial things (I know I am a snob, thx), but Rachel really wanted to go see it, so I agreed to tag along. The fine folks at Hobbiton took us on an early morning tour of the Shire, and I was surprised at how much I truly loved this experience! This is a tremendous example of human creativity, and such a magical universe. Walking through the grounds with our guide was an experience I will not forget. Even if you aren’t the biggest Hobbit/LOTR fan or are just cynical, I would recommend doing the tour at Hobbiton, especially if you’re passing through the area anyway.
Before we continue, let’s take a moment to go over your camping options in New Zealand. There are lots of options for camping in New Zealand, but you should be aware of what they are so that you can follow the rules and respect the environment and the residents. Your first option is private campgrounds & holiday parks. These generally offer both powered & unpowered sites, and often have great facilities including kitchens, laundry facilities, showers & bathrooms at a minimum. The Department of Conservation (DoC) also manages a number of campgrounds across the country. These usually have pretty basic facilities and are operated on a first-come, first-served basis unless they are fully serviced. Another camping option is freedom camping, which you guessed it, is free. The thing with freedom camping is that you need to be 110% certain you are allowed to camp in the designated location… you can’t just show up anywhere and camp. Each freedom camping site has its own rules and regulations. You may be required to have a self-contained vehicle (and the sticker that confirms this), which means you have a waste management system on board. If you intend to freedom camp, make absolutely sure you are following the rules, and check with multiple sources if possible. Even well-intentioned campers who do their research (hi) can get parking tickets.
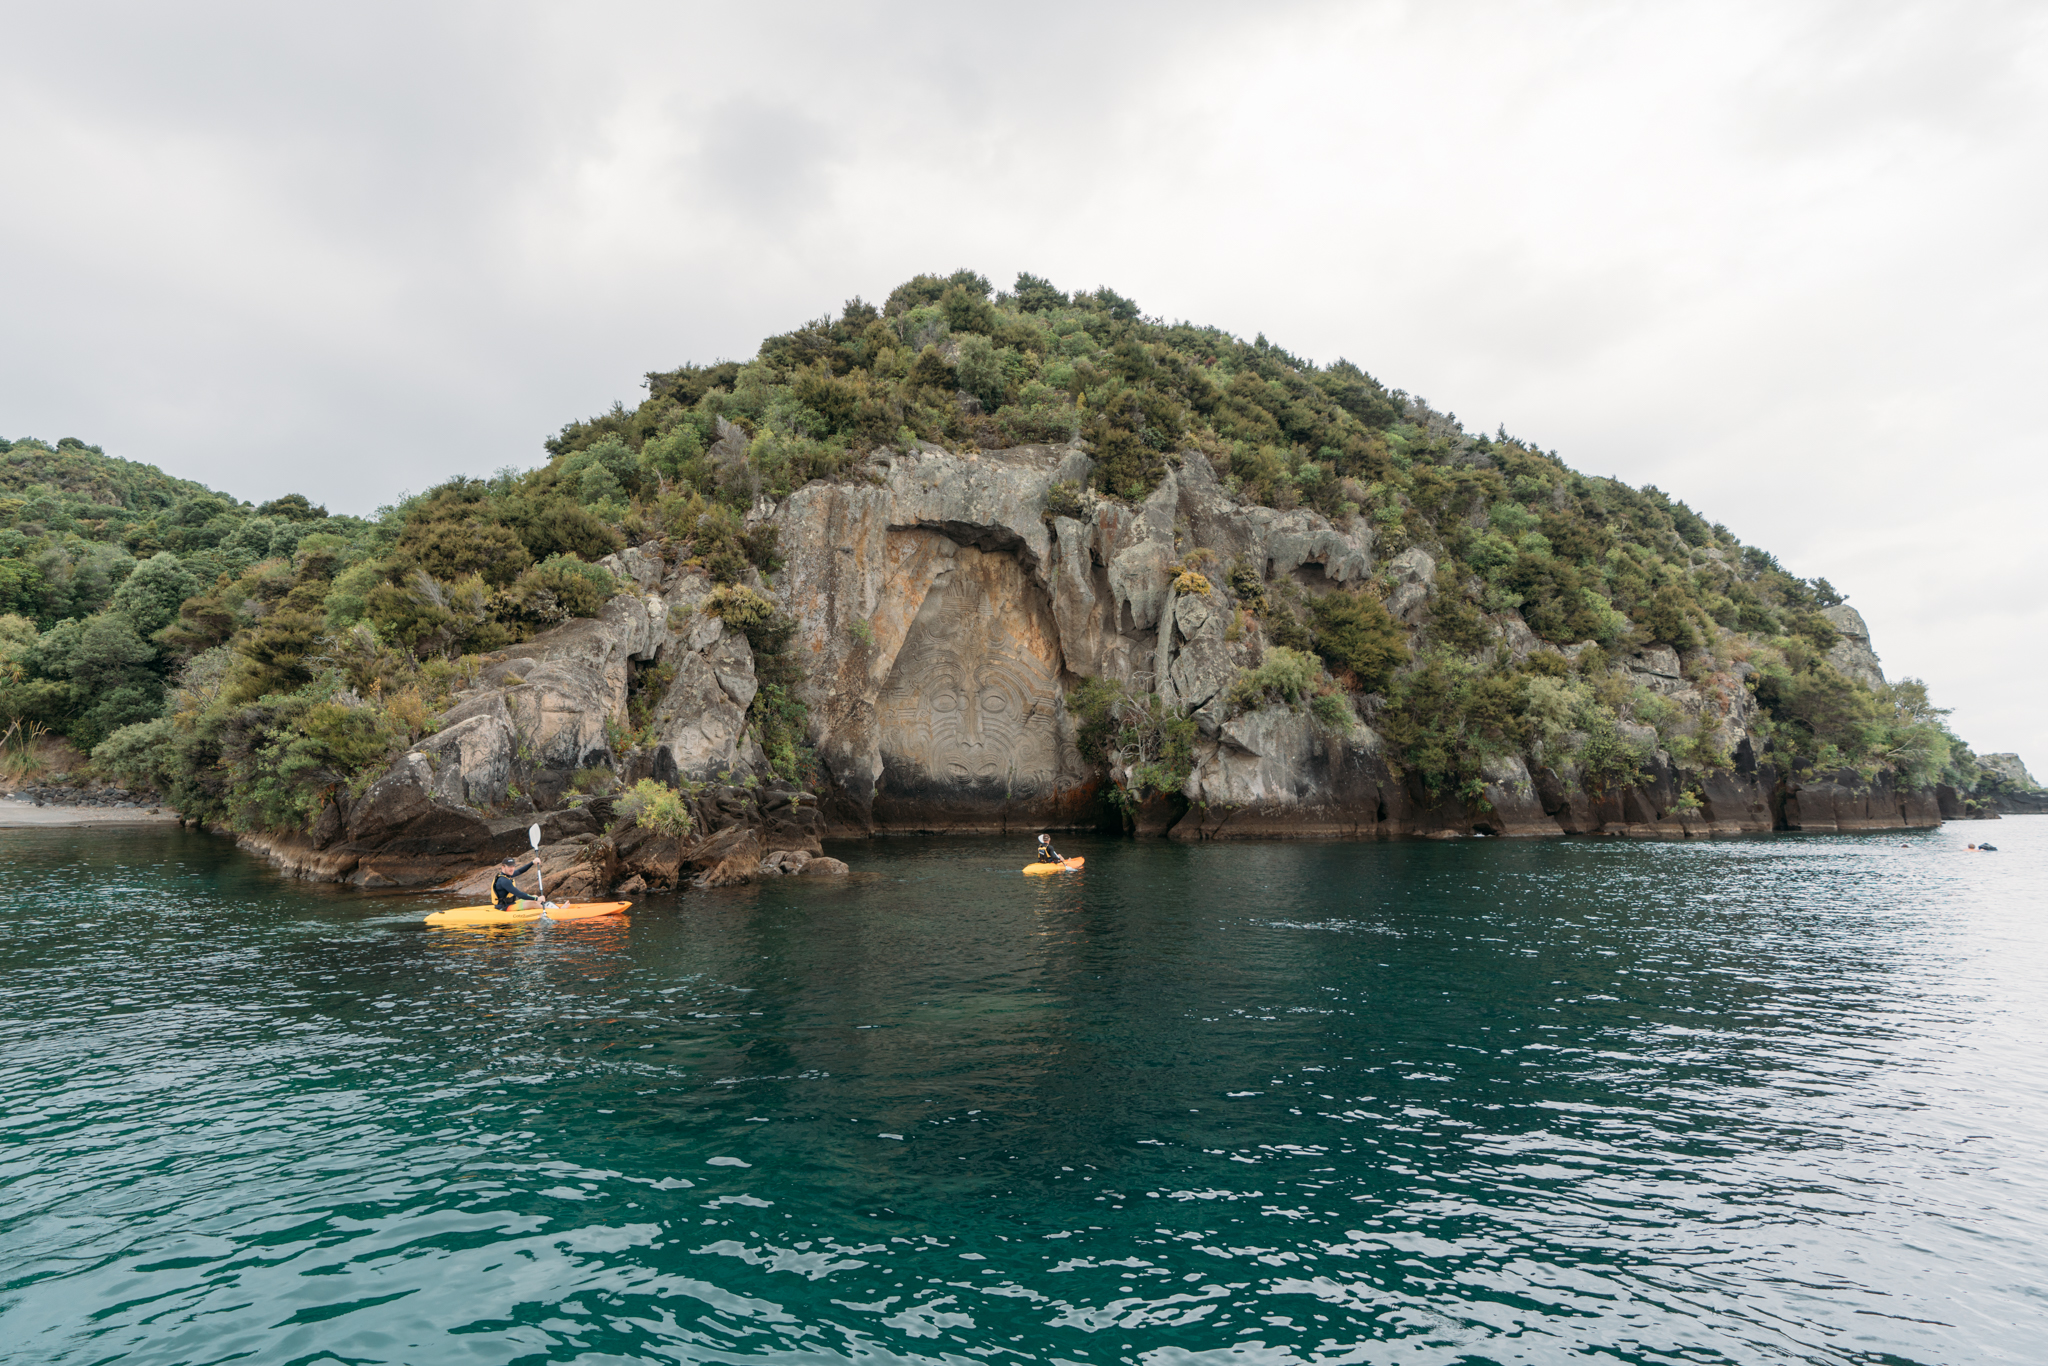
Back to the trip. When doing research, we saw photos online of intricate Maori rock carvings on Lake Taupo and looked into how we might go about seeing them. The carvings, which were created between 1976-1980, were made by artist and traditional marae-taught carver Matahi Brightwell, and represent an ancestor of his grandmother. Originally, he was looking for a tree as his canvas, but decided to carve on rock when he couldn’t find something that suited the work. We were able to visit the carvings with Sail Barbary, the only 100% sustainable boating company on Lake Taupo. You can choose to either kayak to the carvings or take a boat. Though we opted to sail, kayaking also looked like a great option, as it would allow for you to take your time and get even closer to the carvings.
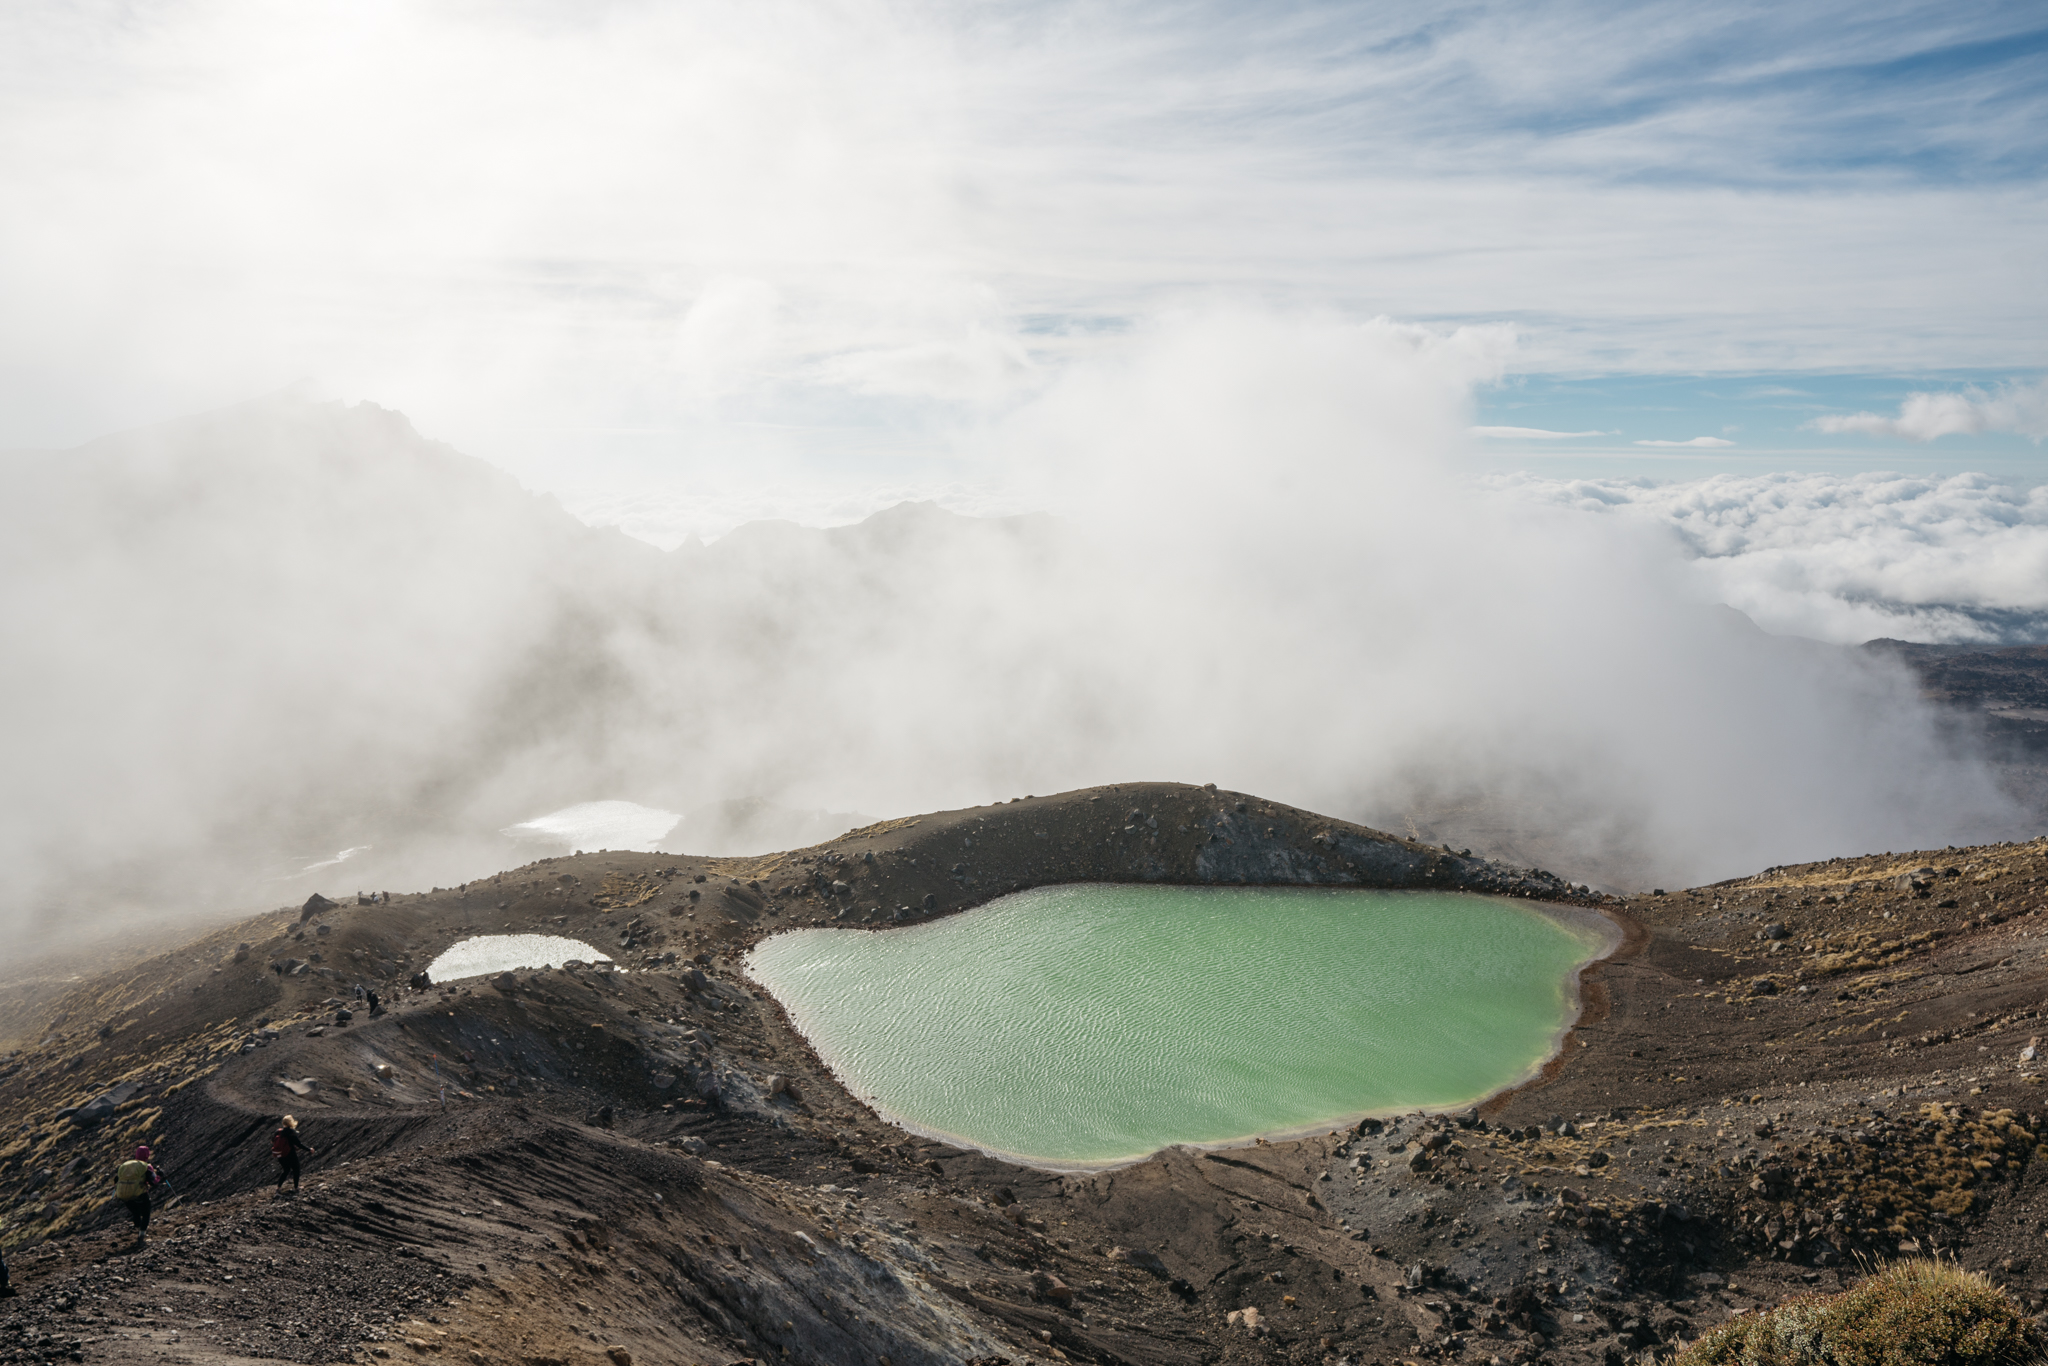
After a big grocery shop, we drove to Tongariro National Park, where we packed our backpacks for a 3-day hike of the Tongariro Northern Circuit. We hiked the loop clockwise, first starting out hiking toward Mangatepopo Hut and arriving with plenty of time to enjoy the afternoon light. The next morning, we packed up early and headed for the Emerald Lakes. This hike takes you through otherworldly volcanic terrain, and the weather can be unpredictable as well! We started our hike on a relatively mild morning, and experienced fog, sideways rain, and heavy winds as we hiked up to the ridge. As we hiked down to the Lakes, the clouds cleared to reveal the landscape.
Many people experience Tongariro National Park on a famous day hike called Tongariro Crossing. My recommendation for those of you who enjoy challenging hikes and jaw-dropping landscapes would be to do the whole Circuit over 3-4 days, but if you don’t have the time or aren’t traveling with your backpacking gear, this is an incredible day hike. Make sure to book yourself a shuttle to get back to the starting point after your hike.
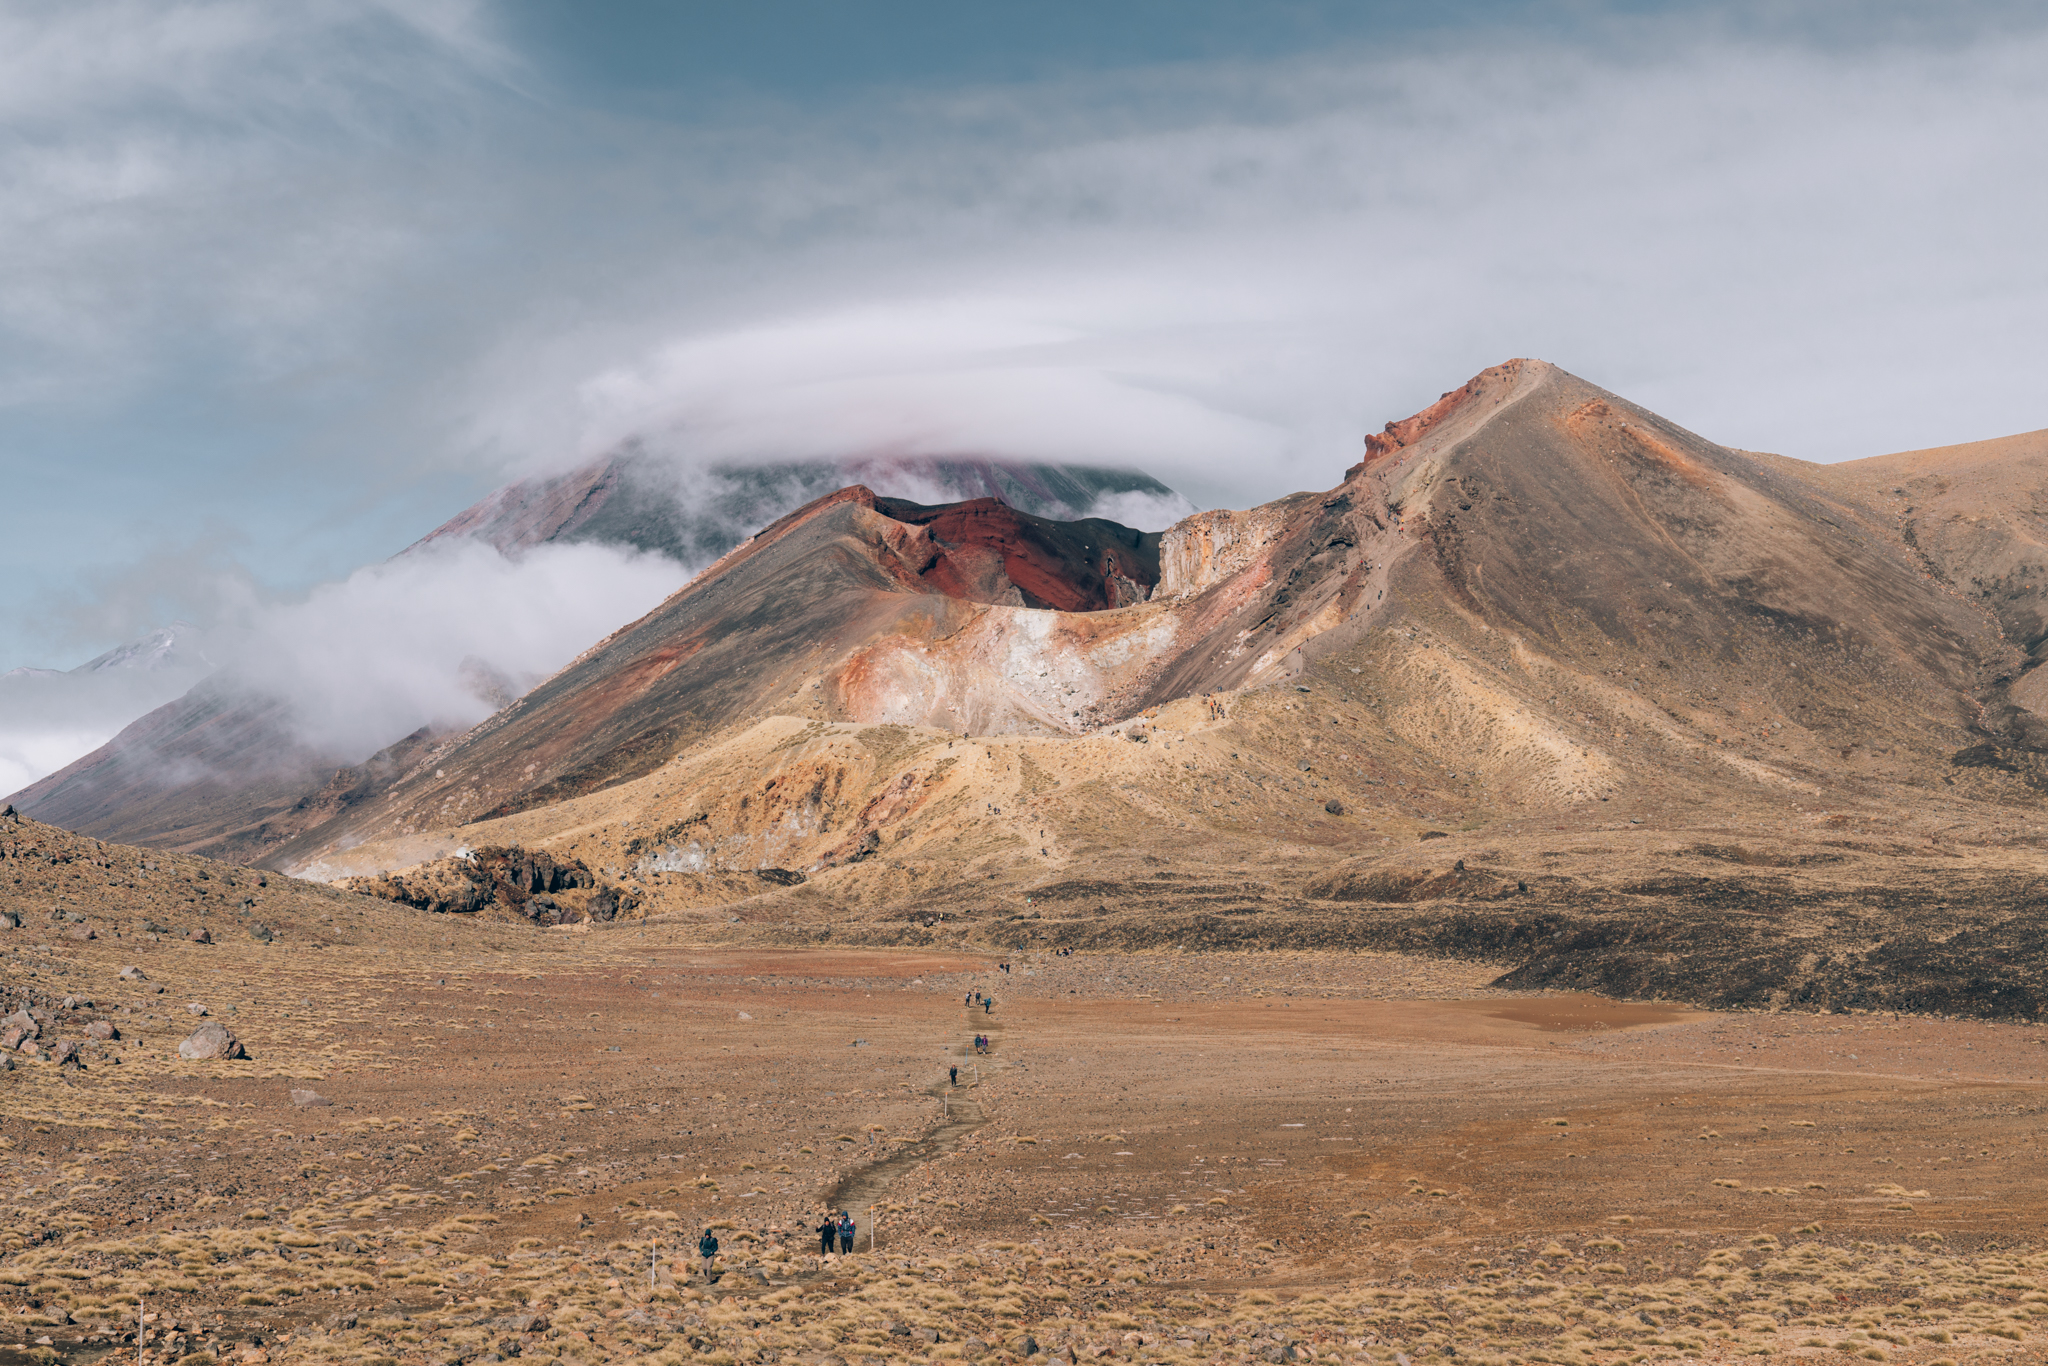
After hitting the Emerald Lakes, we continued onward to Blue Lake just to take a look, before backtracking and heading back toward Waihohonu Hut. The variation in the terrain on this hike alone was pretty stark. We started the hike surrounded by low-lying scrub, eventually walked up to a rocky ridge-line before passing through a moon-like saddle, then were surrounded by brightly colored lakes, red rock, orange lichen, and then dunes as we made our way closer to Waihohonu. Absolutely spectacular.
On the last morning of our hike, we made it back to the van around 11am and started our drive down to Wellington. A quick note to those of you who may be reading this in order to plan your own trip–– Rachel and I did a LOT of driving on this trip! A LOT! If you’re willing to sacrifice chill/relaxing time on your trip, it’s doable… obviously, we did it. But just know that our itinerary was on the ambitious side, and that you have to be dialed-in with your logistics to do all of this in such a short period of time. Our trip was a bit less than three weeks at 18 days, and we planned it this way on purpose, but you might not enjoy this quick pace. In general, there is so much to do and see in New Zealand, and it’s hard to choose! That said, I would recommend doing less and having more time in the places you do choose to visit. Hopefully, you will be able to come back to pick up where you left off.
We were so happy to pull into Wellington for the night! When I booked our Airbnb, I didn’t realize that it was actually a converted photography studio! So perfect. If you’re into unique Airbnbs, be sure to bookmark this one for future trips–– it is one of the most special properties I have ever stayed at, and was a super relaxing place for us to spend the night before another long day of driving.
The next day was a rather exhausting ambitious travel day… a 3 hour ferry followed by a 9 hour drive all the way to Lake Pukaki. We took turns driving, had some great conversations, made some bad hilarious jokes, ate a lot of snacks, and eventually rolled into our campsite right on the lake at around 10pm. We stepped outside the van and looked up to see the Milky Way perfectly positioned above the van, and spent the next few hours doing some astrophotography.
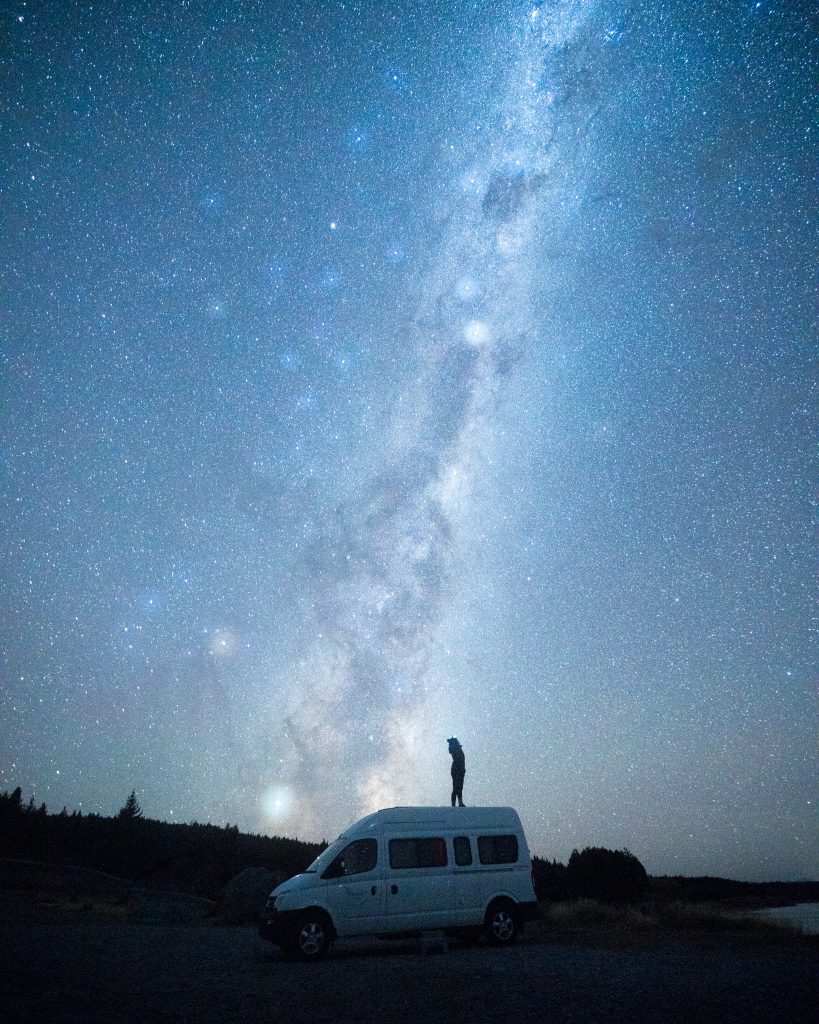
I’m sure some of you experience this too… when I’m in the moment and in my zone, I am in a total state of flow. I forget that I haven’t eaten or whatever small thing I was stressed about. It’s just me behind the camera creating something beautiful. That’s what this moment was for me.
We spent the next two days in the Aoraki/Mt. Cook area. One of my favorite campsites ever (like, in the whole world) is located on the Southern end of Lake Pukaki. Driving from Tekapo, you will see it on your right, right before the bridge. Turn off onto one of the dirt roads toward the lake, and you’ll probably see a sign or other vans/campers. If you hit the visitor’s center, you’ve gone too far. The spot is definitely a lot busier than it was five years ago, but I am happy so many people get to experience this gorgeous place!
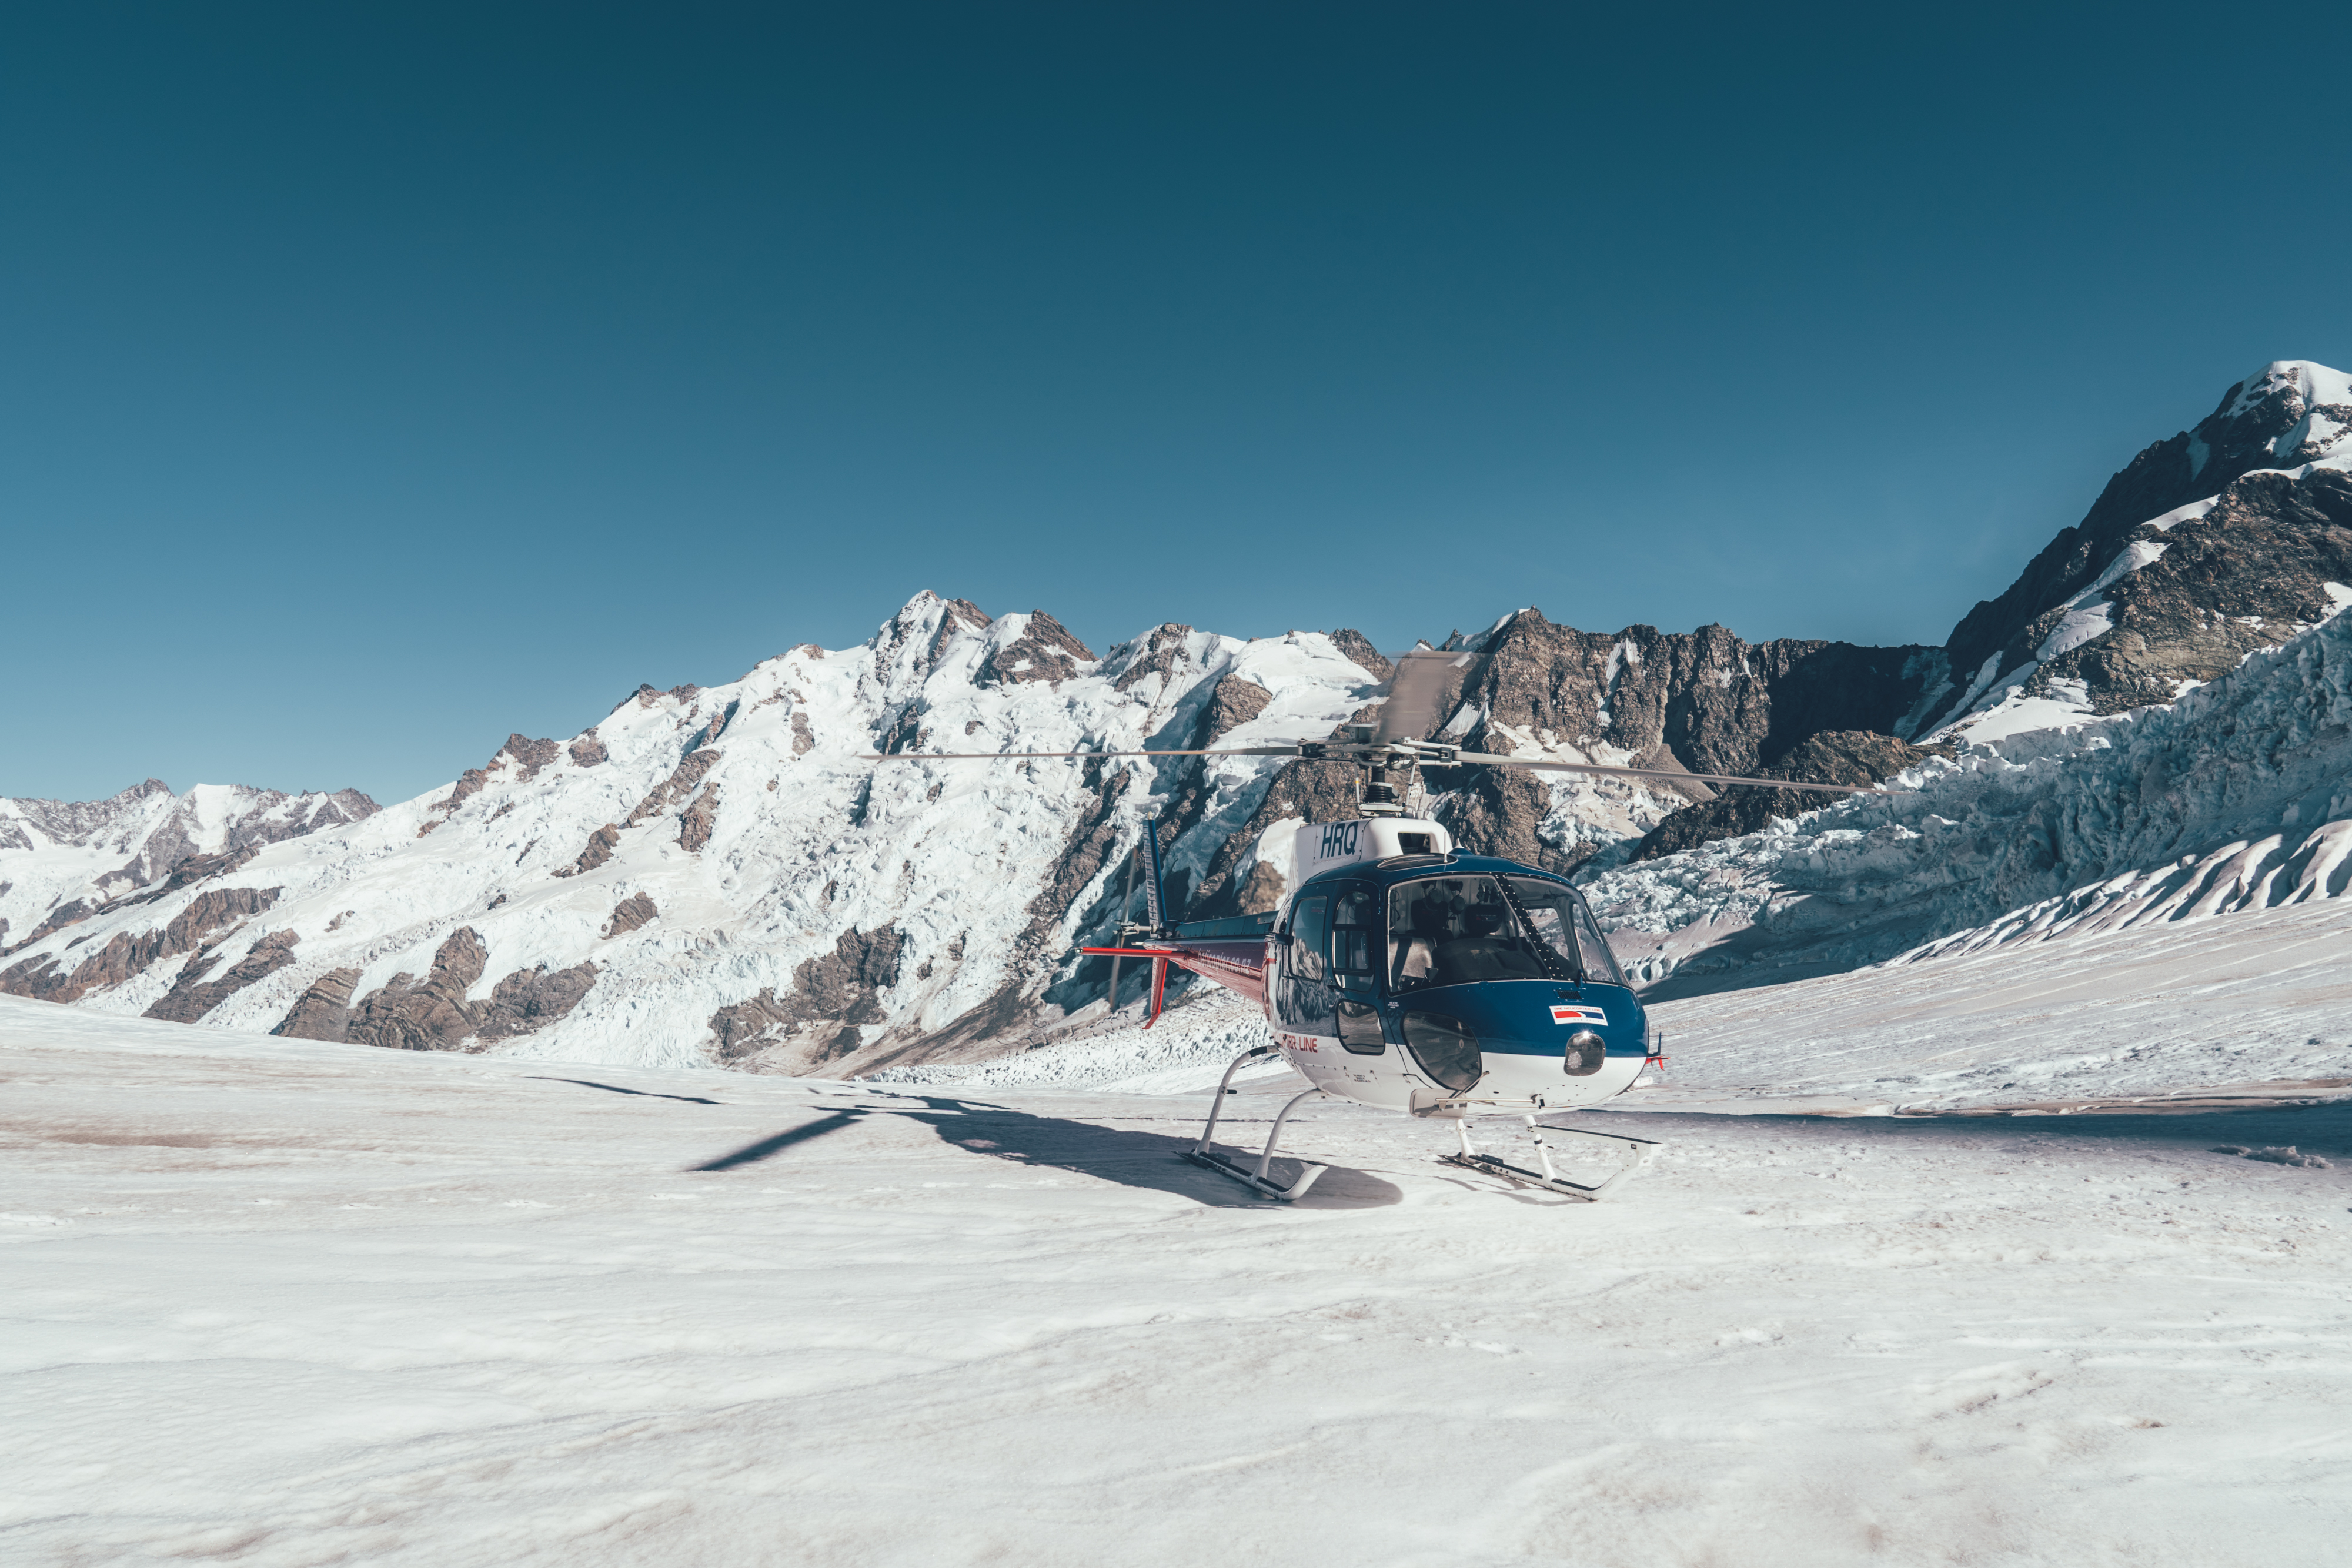
On our first morning in Aoraki, we had a helicopter flight scheduled with The Helicopter Line. Though the cloud was too low at first, it eventually lifted and we were able to go up on a scenic flight, landing up on Tasman Glacier before heading back to the base. Seeing a place from above gives you a unique perspective on the place, and that is certainly the case with Aoraki! If you are looking to go up on a helicopter flight for photography, doors off is always better. That said, it is an amazing experience regardless.
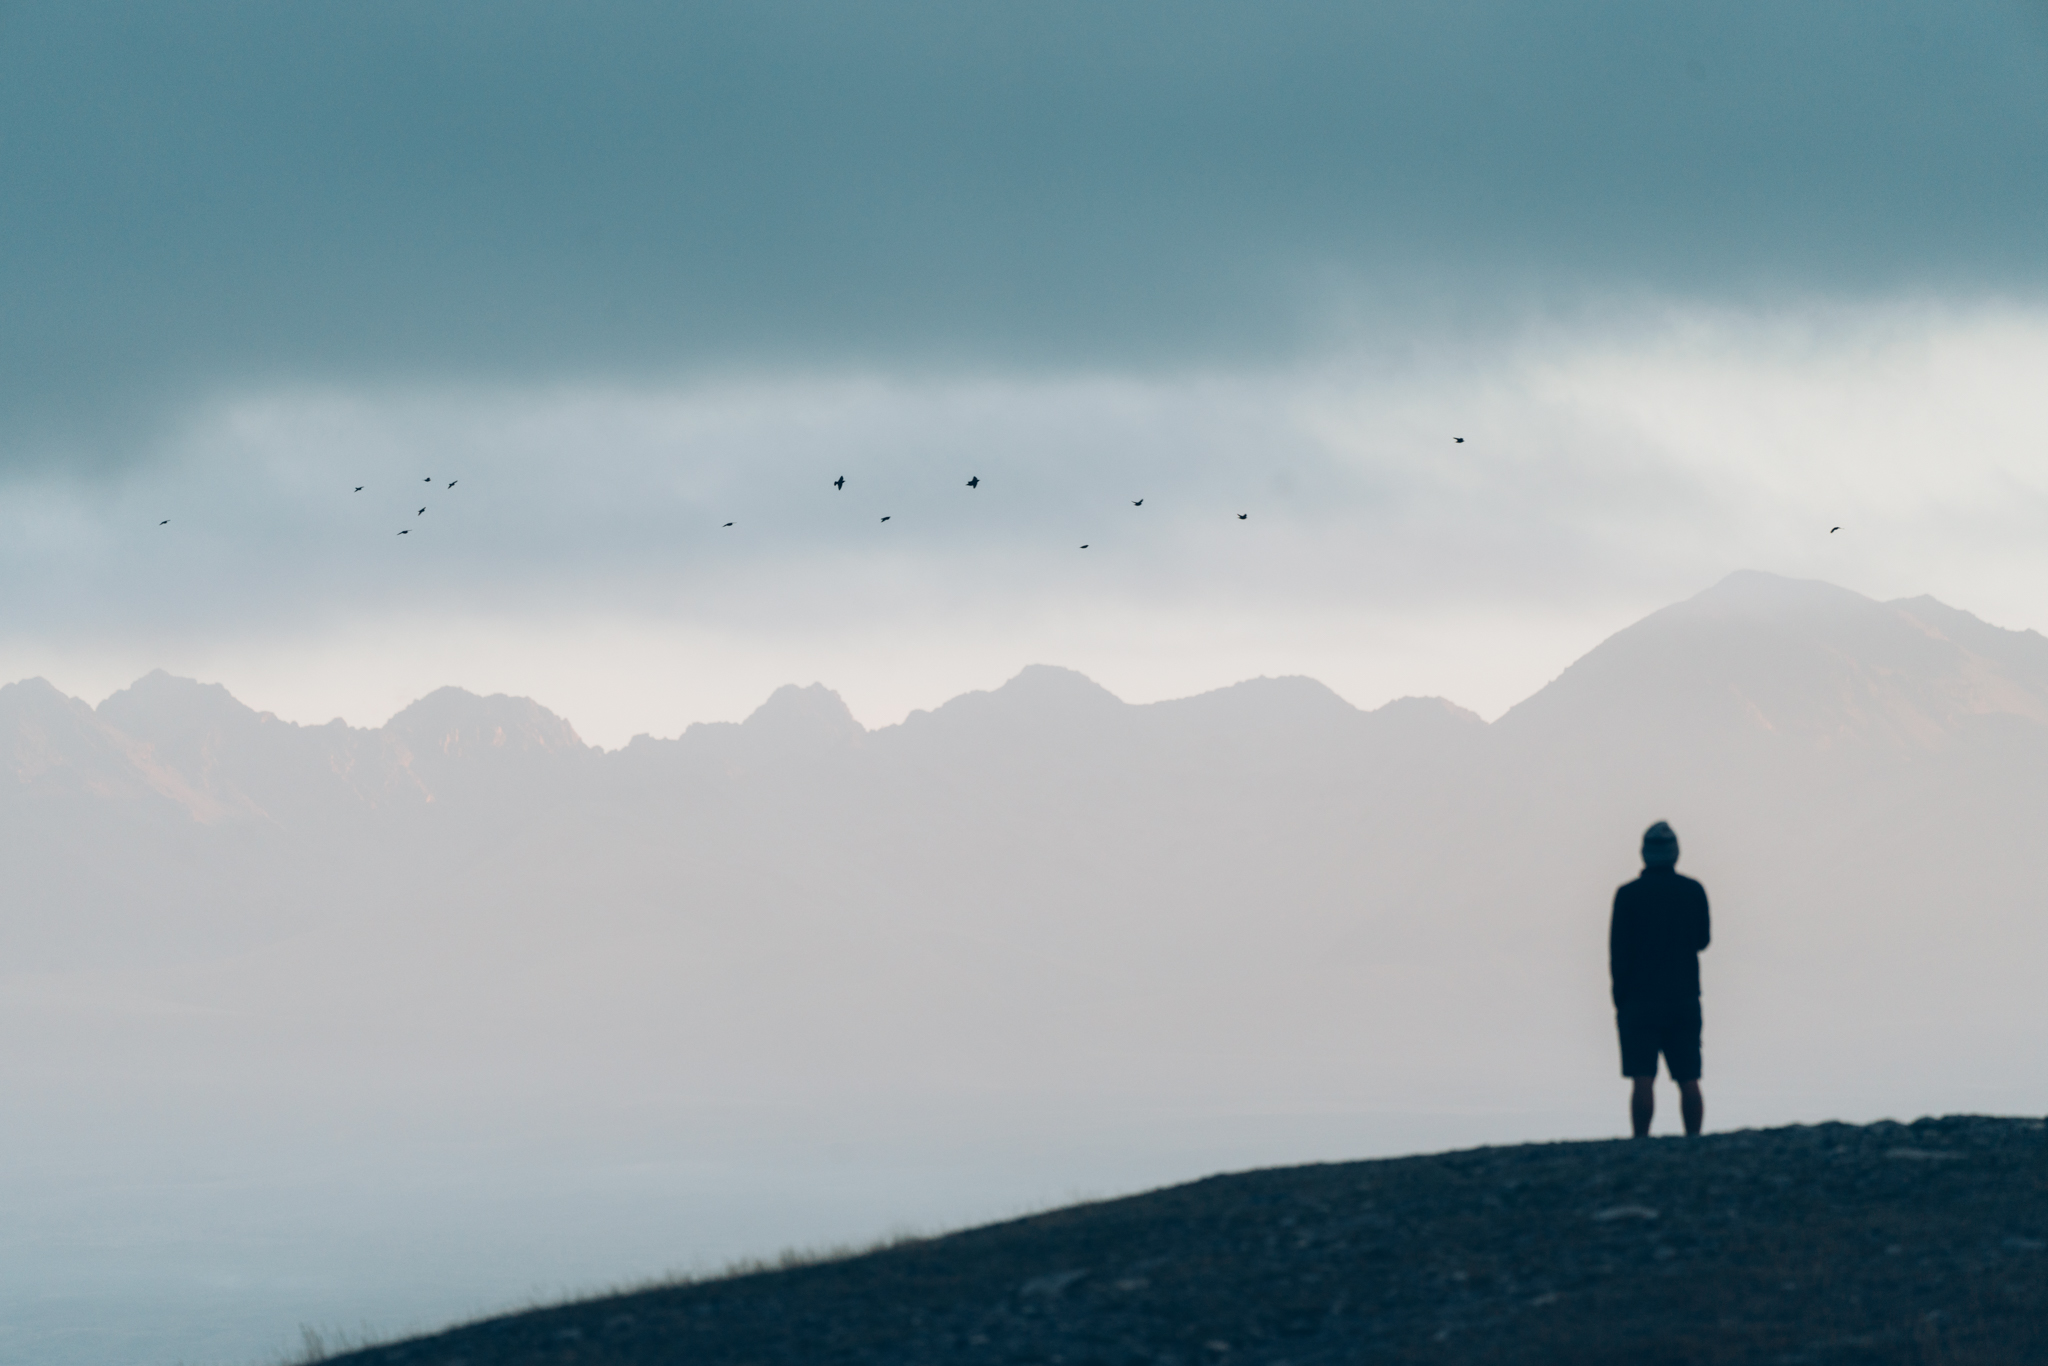
In terms of where to eat in the Mt. Cook area, I would highly recommend the Mountaineers Cafe. We loved their bagels & salads for lunch, and enjoyed spending time sitting in the sun with a good coffee before and after our hikes. Our first hike in the park was a quick walk to Tasman Lake. I use the app AllTrails to download maps to my phone so that I can pull them up on a hike and track my progress. This was a situation where I was really glad I had the map! Once hitting the main viewpoint of the lake, there is a trail along the moraine that continues down to the lake. It’s not as clear-cut as the first part of the trail, and as a result, we were the only people on it. It was nice to experience such a popular area with less of a crowd around.
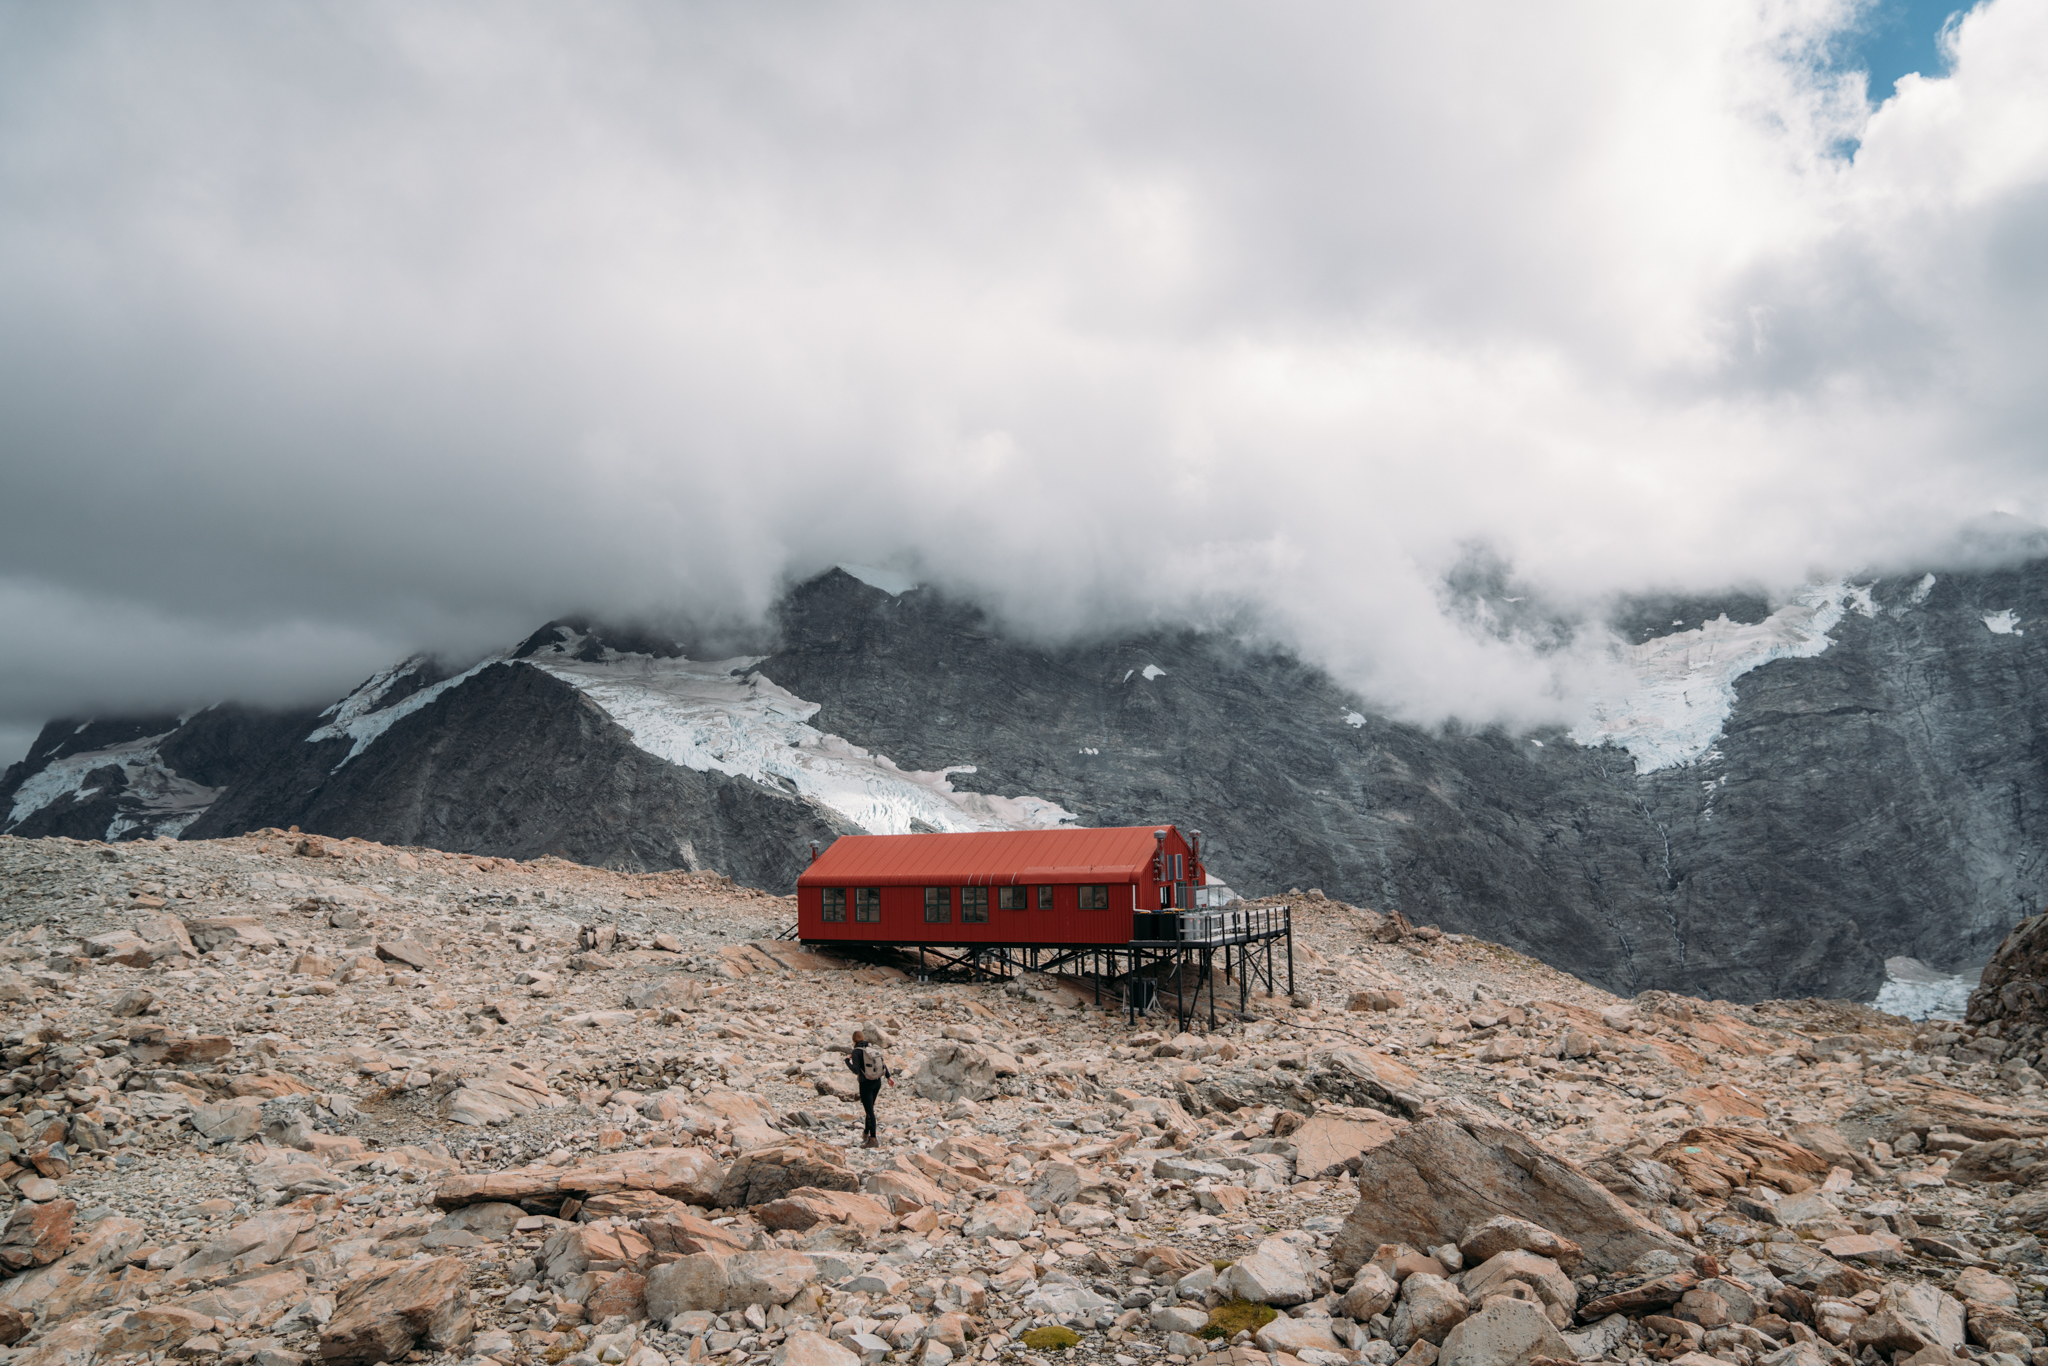
We picked a full day hike on our second day in Aoraki–– Sealy Tarns to Mueller Hut. We knew this was going to be a challenging hike… there are almost 2,000 stairs and 3,500 feet of elevation gain, but the views are definitely worth it. If you don’t want to go all the way up to Mueller Hut, you can definitely stop at Sealy Tarns and still get an amazing view. However, if you want to peek around the other side of the mountain, continue up to the hut. We did the hike in 5 hours and went pretty fast. I would advise someone very fit to allow 4-6 hours, but as many as 8-9 if you plan to stop a lot or take it slow.
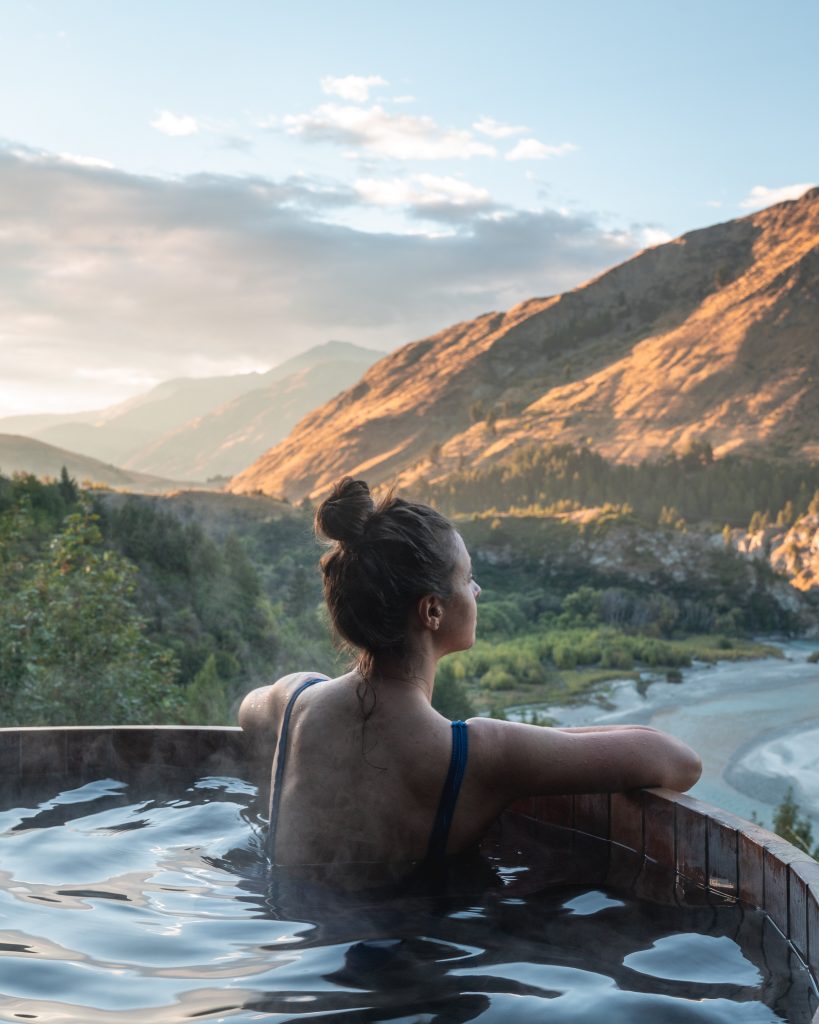
We hiked back to the van and started the journey toward Queenstown for a bit of a spa day after all our hiking. We had a sunrise soak scheduled at Onsen Hot Pools, a series of idyllic wooden tubs perched on the hillside above the Shotover Canyon. This is one of the most unique and natural day spa experiences I’ve ever had, and was such a nice treat. Erin five years ago would have freaked out! If you are looking for a way to treat yourself on your trip, this is a great place to do it.
When in Queenstown, wine tasting is a must… if wine is your thing, that is. It happens to be a thing for us, so we did some tasting at Peregrine Wines before heading to Amisfield Winery for more, as well as a giant delicious cheese plate we inhaled in an embarrassingly short amount of time.

I am (obviously) a huge fan of outdoor activities, but even for folks who love being active outside, it’s nice to take a day or two to slow down and indulge in some other, more “indoor” activities that New Zealand has to offer. After our spa and wine day, we felt refreshed, rested, and excited to go out on another hike. We found a waterfall hike near Queenstown in our NZ Frenzy guidebook (so worth buying), and decided to follow the recommendation. We were not disappointed and we barely saw anyone else on the trail.
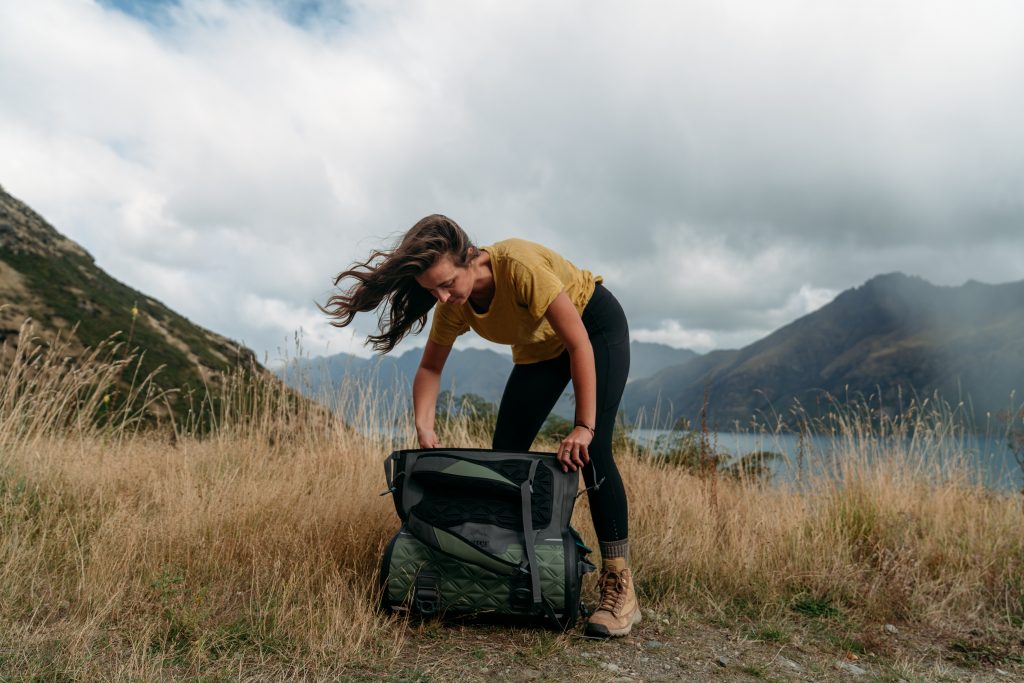
Wanaka was our next stop, and we headed straight for the Mount Iron Track. This quick 5km loop offers beautiful 360 degree views of the lake and city, and was especially lovely at sunset. It is easy to see why people live in Wanaka with this access.
When we were planning this trip, I was hoping we would be able to stop by one of the farms I worked at when I was here 5 years ago. I sent an email to one of the farmers and heard back within 15 minutes with an invitation to stop by! A quick coffee visit turned into a two night stay, some lovely meals shared together, and some jobs around the property. It was truly so fulfilling to visit the farmer and be able to contribute in some way.
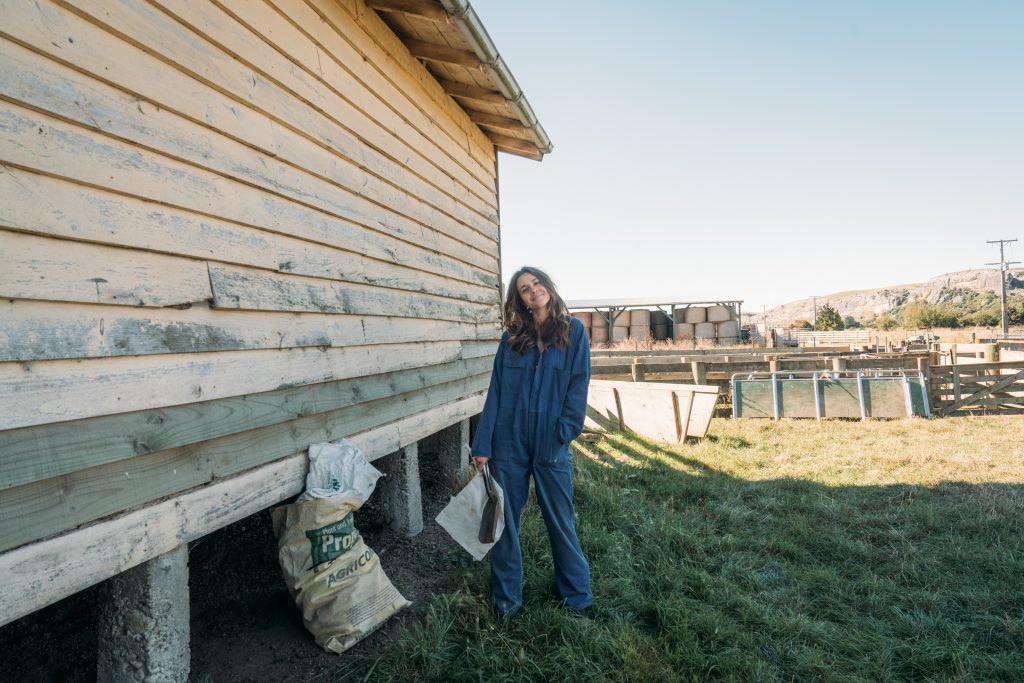
farm stuff.
As our trip came to a close, we cleaned out our home on wheels and got her ready for her return in Christchurch. As Rachel and I both had very early flights, we booked an Airbnb close to the airport for the night. We sadly didn’t have time to explore Christchurch, but I have been before and know what a cool city it is. That’s the thing about New Zealand… there is truly SO much to do. Even if you had a full year, you would still not be able to do or see all of the amazing things packed into these two magical islands.
Hopefully this gives you some ideas! If you’d like to see any of what I talk about in this post in video form, check out my “New Zealand” highlight on my Instagram stories.
This trip really just scratched the surface, and there are plenty of things we missed simply because we did not have time! If you’re reading this because you are planning a trip to New Zealand, you’re in for a real treat. Have fun! Questions or feedback? Let me know in the comments below. As always, thank you so much for reading and following along. I appreciate you.
Some of the activities listed here were sponsored. As always, all opinions here are my own.
The post How to Spend Three Weeks in New Zealand appeared first on ERIN OUTDOORS.

Probably cooking dinner of champions in a parking lot, 2014.
On my previous trip to NZ, I was workin’ with a rather ambitious budget (i.e. spend as little money as possible). We’re talking no eating out, no staying in hotels, no “splurge” items, and a lot of pasta, beans, and PB&J. Let that be evidence that yes, you can do NZ on a budget! That trip was some of the most frugal traveling I have ever done. I wanted things to feel more comfortable and convenient on my next trip, and looked for a balance of free outdoor activities and paid indoor activities (ok, sometimes these were outdoors too). The other big difference between then and now is that wasn’t working as a photographer back then. I didn’t even own a camera. But my memories of that trip are so vivid, and I had a list of places I wanted to return to with the knowledge (and gear) I have gained since.

Another gem from 2014.
I planned this trip with my friend Rachel Rudwall, who is an amazing and hilarious human also working in the travel media space. Rachel is a total badass, and I highly recommend following her journey if you are not already! We decided the best method of transportation for our trip would be a self-contained camper van. It’s very convenient to have a home on wheels, it’s more luxurious than a tent, and it would allow for flexibility in our schedule. We partnered with Heron Campers for our van, and rented the Heron 2+1 model, which we found to be the perfect size for our needs. It was big enough for us to feel comfortable and to store our gear in an organized way, but small enough to feel like driving was manageable. This model had a spacious bed, plenty of storage, a kitchen area with two gas burners, a sink and a fridge, and a bathroom (including a shower)–– definitely the fanciest vehicle I have had the pleasure of traveling in.

Our home for the trip (just change the scenery)!
Upon arrival, we took a night to rest up in Auckland before heading to our first stop: Piha Beach. Piha is a gorgeous beach about 45 minutes drive from Auckland with some huge and unique rock formations. Piha is simply beautiful and such a fantastic place to spend some time. There is a campsite super close to the beach that offers powered & unpowered sites where we stayed for the night.

Given that I haven’t shut up about glow worms for the past month on social media, you won’t be surprised to hear that our next stop was to visit some glow worm caves. We found a small family-run operation called Glowing Adventures, which offers unique & adventurous cave tours on their property. The tour groups are small, so this is a very different experience than you might have at the nearby Waitomo caves, which are arguably the most visited caves in the country. Comparatively, Glowing Adventures hosts only 8-10 people a day, whereas Waitomo can sometimes host a few thousand! We opted for their photography tour, which allowed us plenty of time to create images like these. Another note on glow worm caves in general: there are un-commercialized caves that have glow worms in New Zealand! I have been to several of them, and they are really special. As these are not commercialized, are sometimes harder to get to, and are less populated, you need to do your research. Think about the type of experience you would like to have and how much time/flexibility you have in your schedule, and go from there. Google is your friend.

Another North Island highlight for me was shockingly… Hobbiton. To be totally transparent, Hobbiton was not originally on my to-do list for NZ. I’m usually not into super novelty or commercial things (I know I am a snob, thx), but Rachel really wanted to go see it, so I agreed to tag along. The fine folks at Hobbiton took us on an early morning tour of the Shire, and I was surprised at how much I truly loved this experience! This is a tremendous example of human creativity, and such a magical universe. Walking through the grounds with our guide was an experience I will not forget. Even if you aren’t the biggest Hobbit/LOTR fan or are just cynical, I would recommend doing the tour at Hobbiton, especially if you’re passing through the area anyway.

Before we continue, let’s take a moment to go over your camping options in New Zealand. There are lots of options for camping in New Zealand, but you should be aware of what they are so that you can follow the rules and respect the environment and the residents. Your first option is private campgrounds & holiday parks. These generally offer both powered & unpowered sites, and often have great facilities including kitchens, laundry facilities, showers & bathrooms at a minimum. The Department of Conservation (DoC) also manages a number of campgrounds across the country. These usually have pretty basic facilities and are operated on a first-come, first-served basis unless they are fully serviced. Another camping option is freedom camping, which you guessed it, is free. The thing with freedom camping is that you need to be 110% certain you are allowed to camp in the designated location… you can’t just show up anywhere and camp. Each freedom camping site has its own rules and regulations. You may be required to have a self-contained vehicle (and the sticker that confirms this), which means you have a waste management system on board. If you intend to freedom camp, make absolutely sure you are following the rules, and check with multiple sources if possible. Even well-intentioned campers who do their research (hi) can get parking tickets.
Back to the trip. When doing research, we saw photos online of intricate Maori rock carvings on Lake Taupo and looked into how we might go about seeing them. The carvings, which were created between 1976-1980, were made by artist and traditional marae-taught carver Matahi Brightwell, and represent an ancestor of his grandmother. Originally, he was looking for a tree as his canvas, but decided to carve on rock when he couldn’t find something that suited the work. We were able to visit the carvings with Sail Barbary, the only 100% sustainable boating company on Lake Taupo. You can choose to either kayak to the carvings or take a boat. Though we opted to sail, kayaking also looked like a great option, as it would allow for you to take your time and get even closer to the carvings.

After a big grocery shop, we drove to Tongariro National Park, where we packed our backpacks for a 3-day hike of the Tongariro Northern Circuit. We hiked the loop clockwise, first starting out hiking toward Mangatepopo Hut and arriving with plenty of time to enjoy the afternoon light. The next morning, we packed up early and headed for the Emerald Lakes. This hike takes you through otherworldly volcanic terrain, and the weather can be unpredictable as well! We started our hike on a relatively mild morning, and experienced fog, sideways rain, and heavy winds as we hiked up to the ridge. As we hiked down to the Lakes, the clouds cleared to reveal the landscape.

Many people experience Tongariro National Park on a famous day hike called Tongariro Crossing. My recommendation for those of you who enjoy challenging hikes and jaw-dropping landscapes would be to do the whole Circuit over 3-4 days, but if you don’t have the time or aren’t traveling with your backpacking gear, this is an incredible day hike. Make sure to book yourself a shuttle to get back to the starting point after your hike.

After hitting the Emerald Lakes, we continued onward to Blue Lake just to take a look, before backtracking and heading back toward Waihohonu Hut. The variation in the terrain on this hike alone was pretty stark. We started the hike surrounded by low-lying scrub, eventually walked up to a rocky ridge-line before passing through a moon-like saddle, then were surrounded by brightly colored lakes, red rock, orange lichen, and then dunes as we made our way closer to Waihohonu. Absolutely spectacular.
On the last morning of our hike, we made it back to the van around 11am and started our drive down to Wellington. A quick note to those of you who may be reading this in order to plan your own trip–– Rachel and I did a LOT of driving on this trip! A LOT! If you’re willing to sacrifice chill/relaxing time on your trip, it’s doable… obviously, we did it. But just know that our itinerary was on the ambitious side, and that you have to be dialed-in with your logistics to do all of this in such a short period of time. Our trip was a bit less than three weeks at 18 days, and we planned it this way on purpose, but you might not enjoy this quick pace. In general, there is so much to do and see in New Zealand, and it’s hard to choose! That said, I would recommend doing less and having more time in the places you do choose to visit. Hopefully, you will be able to come back to pick up where you left off.
We were so happy to pull into Wellington for the night! When I booked our Airbnb, I didn’t realize that it was actually a converted photography studio! So perfect. If you’re into unique Airbnbs, be sure to bookmark this one for future trips–– it is one of the most special properties I have ever stayed at, and was a super relaxing place for us to spend the night before another long day of driving.
The next day was a rather exhausting ambitious travel day… a 3 hour ferry followed by a 9 hour drive all the way to Lake Pukaki. We took turns driving, had some great conversations, made some bad hilarious jokes, ate a lot of snacks, and eventually rolled into our campsite right on the lake at around 10pm. We stepped outside the van and looked up to see the Milky Way perfectly positioned above the van, and spent the next few hours doing some astrophotography.

I’m sure some of you experience this too… when I’m in the moment and in my zone, I am in a total state of flow. I forget that I haven’t eaten or whatever small thing I was stressed about. It’s just me behind the camera creating something beautiful. That’s what this moment was for me.
We spent the next two days in the Aoraki/Mt. Cook area. One of my favorite campsites ever (like, in the whole world) is located on the Southern end of Lake Pukaki. Driving from Tekapo, you will see it on your right, right before the bridge. Turn off onto one of the dirt roads toward the lake, and you’ll probably see a sign or other vans/campers. If you hit the visitor’s center, you’ve gone too far. The spot is definitely a lot busier than it was five years ago, but I am happy so many people get to experience this gorgeous place!

On our first morning in Aoraki, we had a helicopter flight scheduled with The Helicopter Line. Though the cloud was too low at first, it eventually lifted and we were able to go up on a scenic flight, landing up on Tasman Glacier before heading back to the base. Seeing a place from above gives you a unique perspective on the place, and that is certainly the case with Aoraki! If you are looking to go up on a helicopter flight for photography, doors off is always better. That said, it is an amazing experience regardless.

In terms of where to eat in the Mt. Cook area, I would highly recommend the Mountaineers Cafe. We loved their bagels & salads for lunch, and enjoyed spending time sitting in the sun with a good coffee before and after our hikes. Our first hike in the park was a quick walk to Tasman Lake. I use the app AllTrails to download maps to my phone so that I can pull them up on a hike and track my progress. This was a situation where I was really glad I had the map! Once hitting the main viewpoint of the lake, there is a trail along the moraine that continues down to the lake. It’s not as clear-cut as the first part of the trail, and as a result, we were the only people on it. It was nice to experience such a popular area with less of a crowd around.
We picked a full day hike on our second day in Aoraki–– Sealy Tarns to Mueller Hut. We knew this was going to be a challenging hike… there are almost 2,000 stairs and 3,500 feet of elevation gain, but the views are definitely worth it. If you don’t want to go all the way up to Mueller Hut, you can definitely stop at Sealy Tarns and still get an amazing view. However, if you want to peek around the other side of the mountain, continue up to the hut. We did the hike in 5 hours and went pretty fast. I would advise someone very fit to allow 4-6 hours, but as many as 8-9 if you plan to stop a lot or take it slow.

We hiked back to the van and started the journey toward Queenstown for a bit of a spa day after all our hiking. We had a sunrise soak scheduled at Onsen Hot Pools, a series of idyllic wooden tubs perched on the hillside above the Shotover Canyon. This is one of the most unique and natural day spa experiences I’ve ever had, and was such a nice treat. Erin five years ago would have freaked out! If you are looking for a way to treat yourself on your trip, this is a great place to do it.

When in Queenstown, wine tasting is a must… if wine is your thing, that is. It happens to be a thing for us, so we did some tasting at Peregrine Wines before heading to Amisfield Winery for more, as well as a giant delicious cheese plate we inhaled in an embarrassingly short amount of time.

I am (obviously) a huge fan of outdoor activities, but even for folks who love being active outside, it’s nice to take a day or two to slow down and indulge in some other, more “indoor” activities that New Zealand has to offer. After our spa and wine day, we felt refreshed, rested, and excited to go out on another hike. We found a waterfall hike near Queenstown in our NZ Frenzy guidebook (so worth buying), and decided to follow the recommendation. We were not disappointed and we barely saw anyone else on the trail.

Wanaka was our next stop, and we headed straight for the Mount Iron Track. This quick 5km loop offers beautiful 360 degree views of the lake and city, and was especially lovely at sunset. It is easy to see why people live in Wanaka with this access.
When we were planning this trip, I was hoping we would be able to stop by one of the farms I worked at when I was here 5 years ago. I sent an email to one of the farmers and heard back within 15 minutes with an invitation to stop by! A quick coffee visit turned into a two night stay, some lovely meals shared together, and some jobs around the property. It was truly so fulfilling to visit the farmer and be able to contribute in some way.

farm stuff.
As our trip came to a close, we cleaned out our home on wheels and got her ready for her return in Christchurch. As Rachel and I both had very early flights, we booked an Airbnb close to the airport for the night. We sadly didn’t have time to explore Christchurch, but I have been before and know what a cool city it is. That’s the thing about New Zealand… there is truly SO much to do. Even if you had a full year, you would still not be able to do or see all of the amazing things packed into these two magical islands.
Hopefully this gives you some ideas! If you’d like to see any of what I talk about in this post in video form, check out my “New Zealand” highlight on my Instagram stories.
QUICK FAVORITES LIST:
- NZ Frenzy – Excellent guidebooks for adventurers, buy on Amazon (North & South).
- Euro Campers / Heron Campers – Our van
- AllTrails – The app I use for hiking maps
- Piha Beach
- Un-commercialized glow worm caves on the North Island (I am not sharing specific details on purpose… Google it and you will figure it out!)
- Glowing Adventures
- Hobbiton
- Mine Bay Maori rock carvings
- Sail Barbary
- Tongariro National Park
- The Helicopter Line
- Tasman Lake Track
- Sealy Tarns to Mueller Hut Track
- Onsen Hot Pools
- Amisfield Winery
- Mount Iron Walk
This trip really just scratched the surface, and there are plenty of things we missed simply because we did not have time! If you’re reading this because you are planning a trip to New Zealand, you’re in for a real treat. Have fun! Questions or feedback? Let me know in the comments below. As always, thank you so much for reading and following along. I appreciate you.
Some of the activities listed here were sponsored. As always, all opinions here are my own.
The post How to Spend Three Weeks in New Zealand appeared first on ERIN OUTDOORS.
